Pro Surface Prep Methods to Elevate Ceramic Coating Results in Baltimore, MD
Getting the best results from a ceramic coating starts long before the coating is applied. Proper surface preparation is what determines whether your coating bonds correctly, delivers deep gloss, and lasts for years.
For vehicle owners in Baltimore, Essex, Towson, and surrounding Maryland areas, preparation is even more important due to road salt, humidity, and environmental contaminants that affect your vehicle’s paint.
Learn professional surface preparation techniques used by Detail Solutions to ensure long-lasting ceramic coating performance and a flawless finish.
Ceramic Coating Prep Checklist
Before diving into each step, here is a quick overview of the process:
- Thorough vehicle wash with pH-neutral shampoo
- Surface decontamination using clay and chemicals
- Paint correction through polishing
- Final wipe-down and inspection
- Controlled environment before coating application
Each step plays a critical role in achieving proper adhesion and long-term protection.
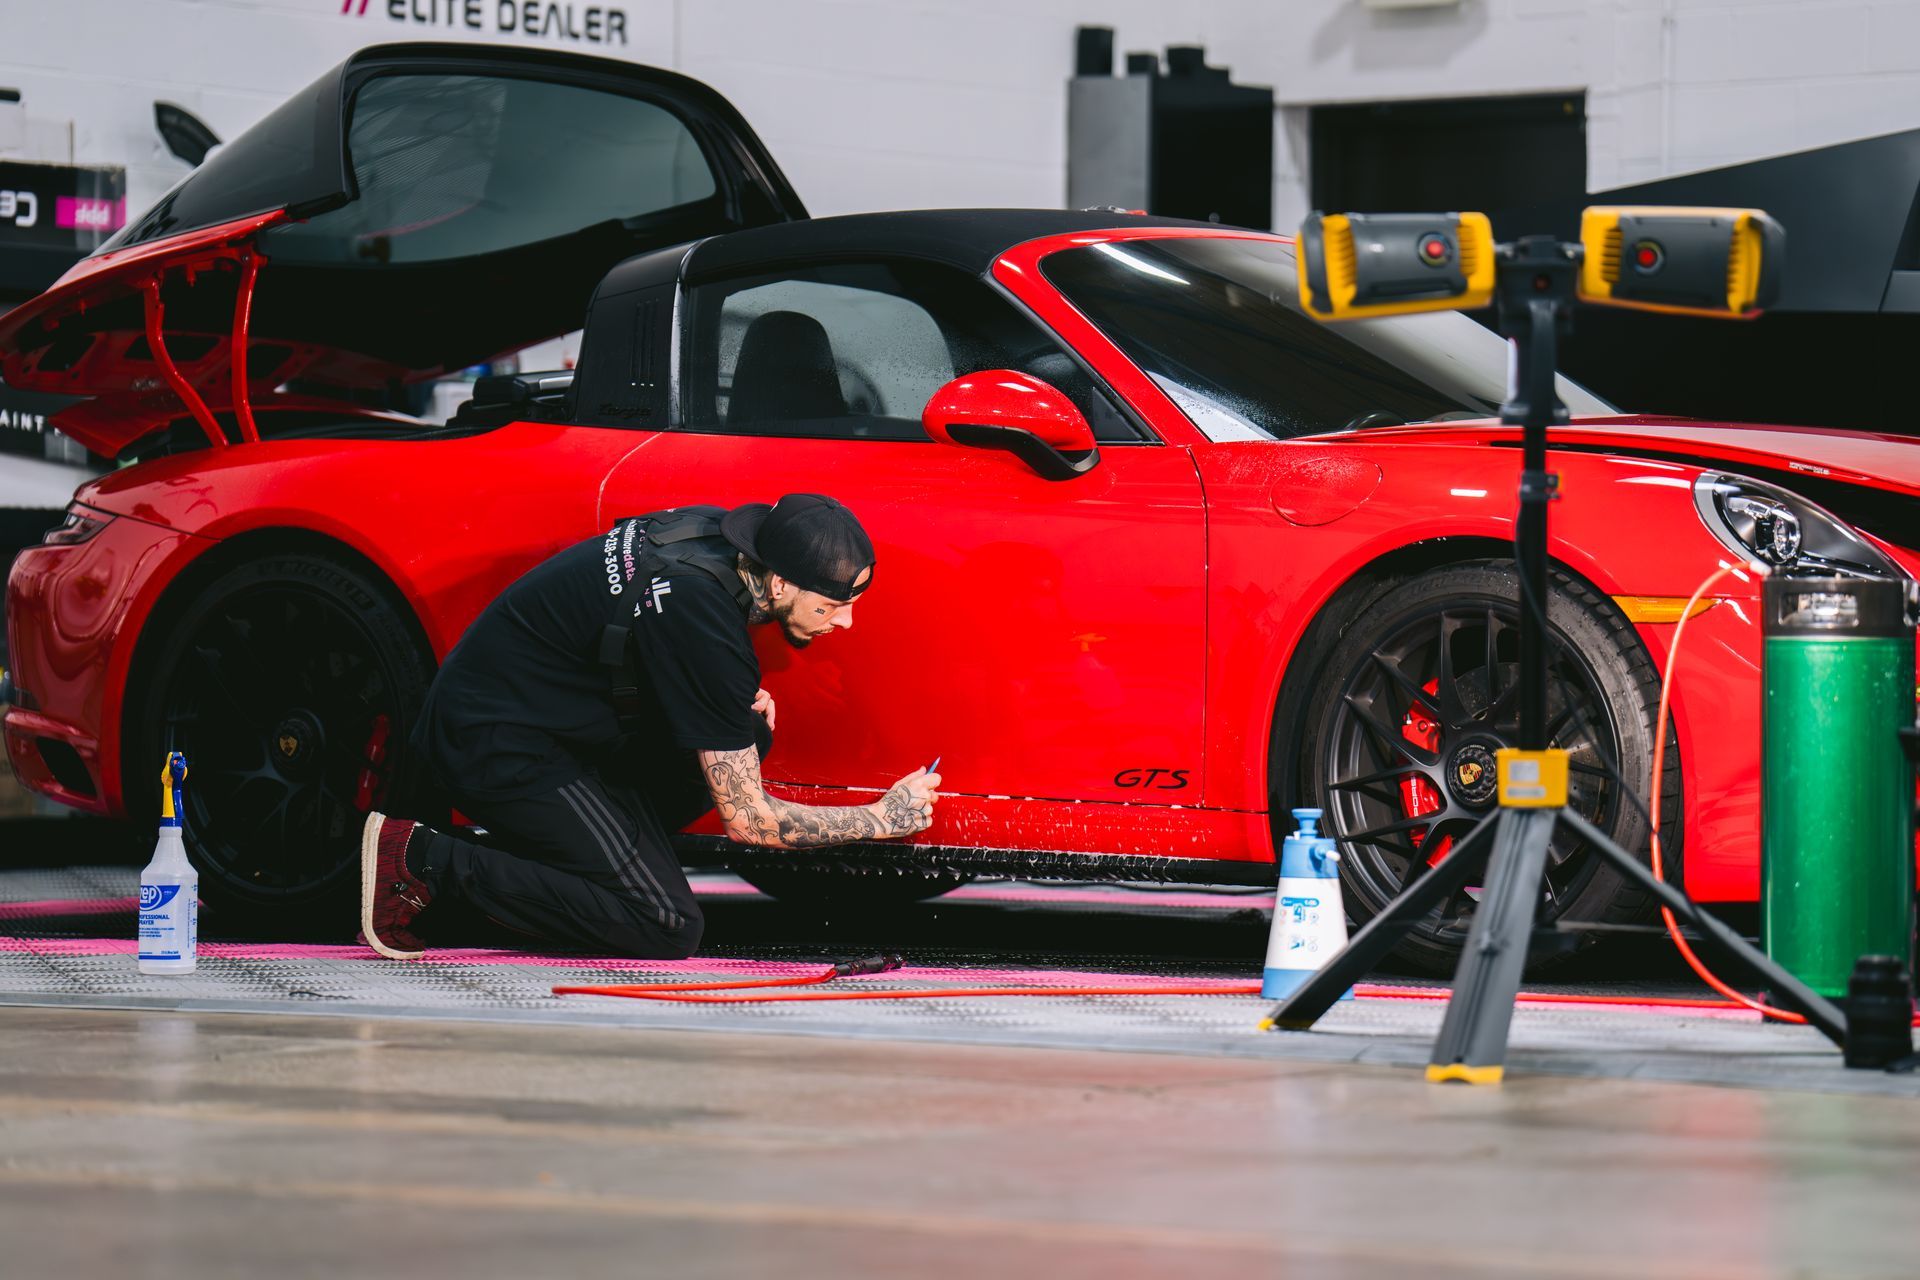
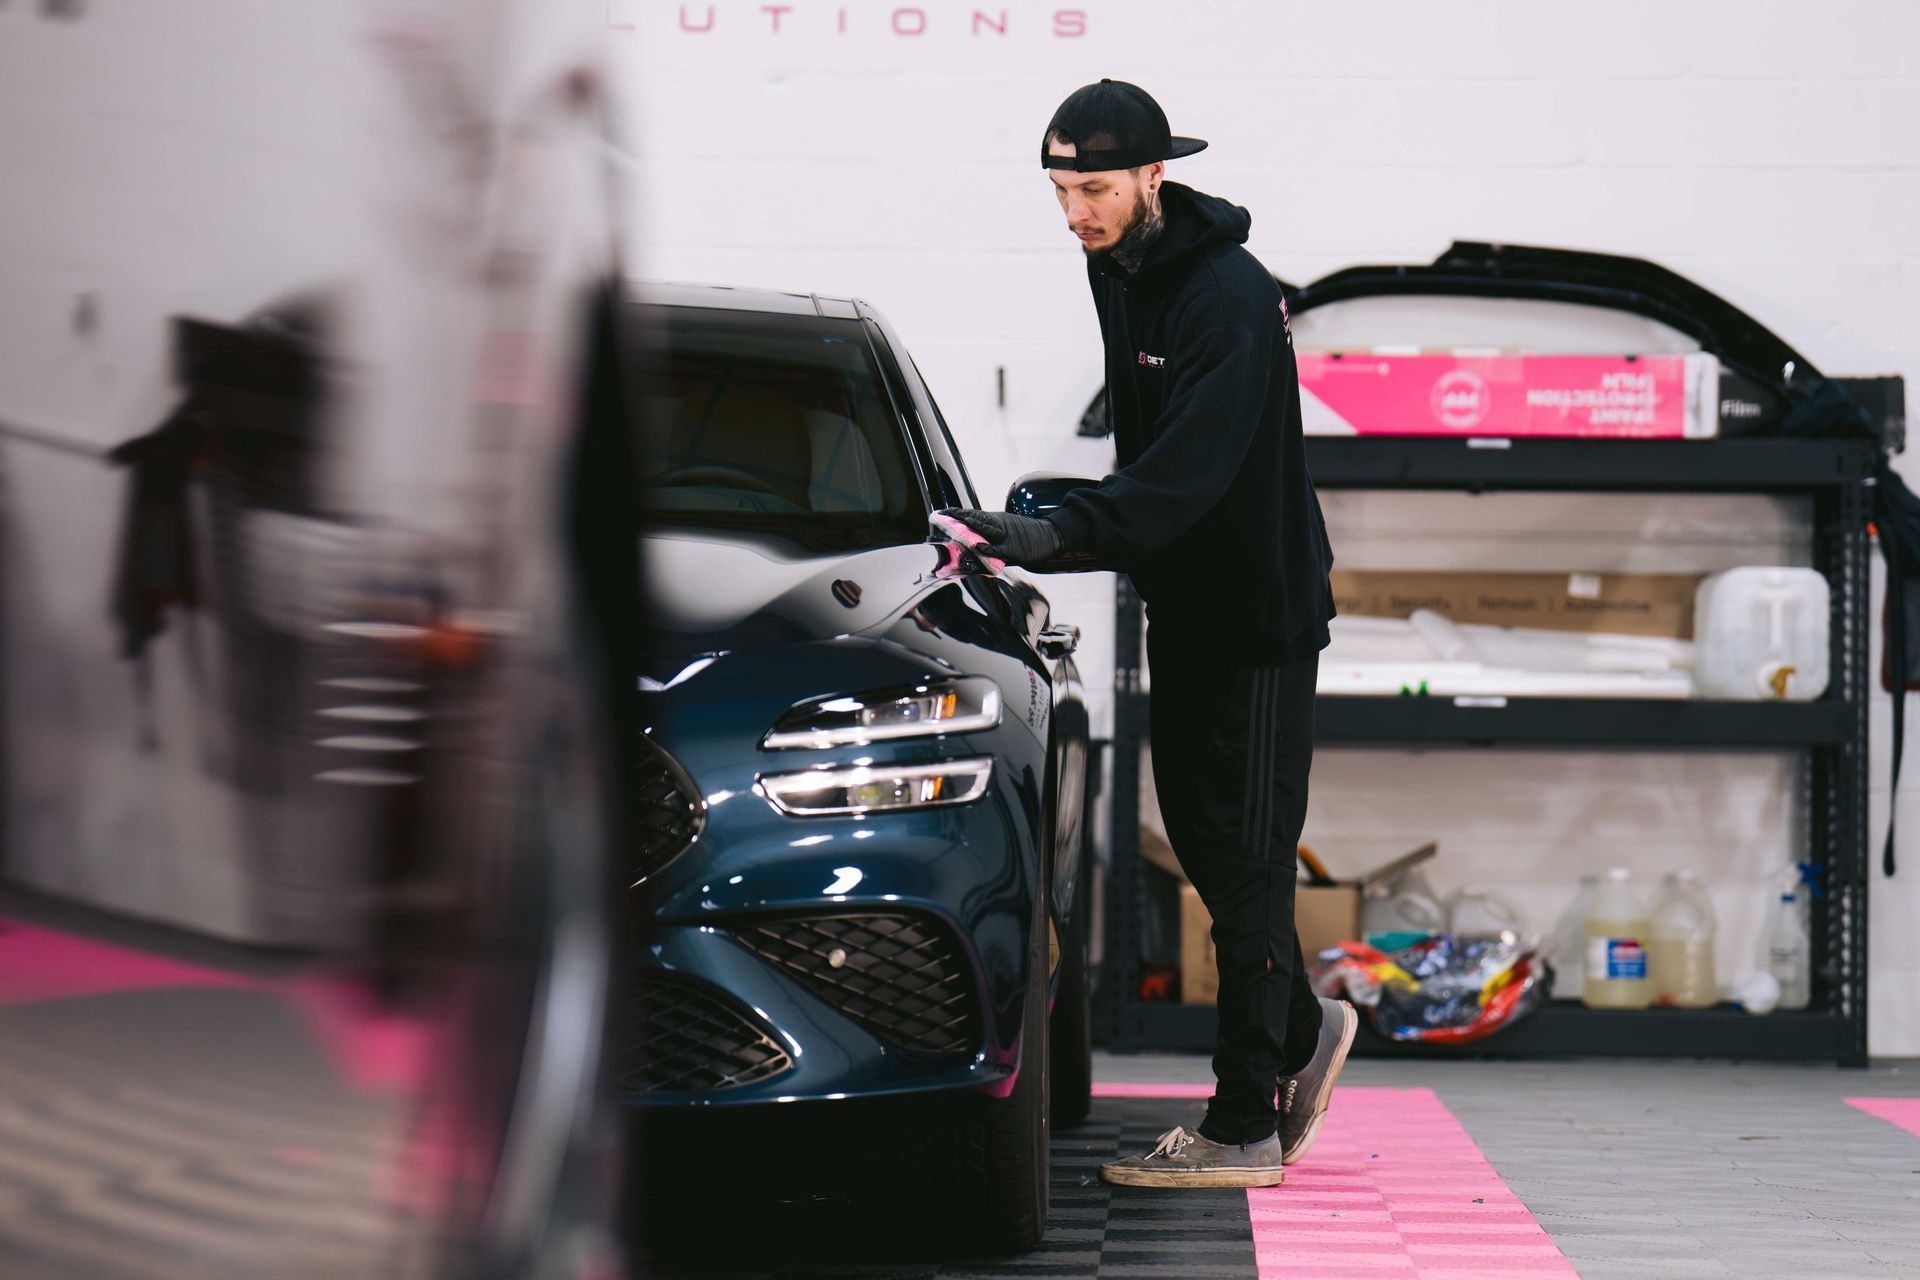
Step 1: Thorough Vehicle Cleaning
The first step in ceramic coating preparation is a complete and careful wash. Any dirt, oils, or debris left behind can interfere with coating adhesion and reduce durability.
Start with a high-pressure rinse to remove loose contaminants. This helps prevent scratching during the contact wash phase. In areas like Baltimore and White Marsh, where road grime and salt buildup are common, this step is essential.
Next, use a pH-neutral car shampoo. Avoid household detergents since they can strip protective layers and damage the paint. Wash from top to bottom using a microfiber wash mitt to reduce swirl marks.
After washing, dry the vehicle using high-quality microfiber towels. Pat drying is preferred over wiping to minimize friction. Working in a shaded or indoor area helps prevent water spots caused by rapid evaporation.
Pro Tip: Using a drying aid spray adds lubrication and reduces streaking while enhancing gloss.
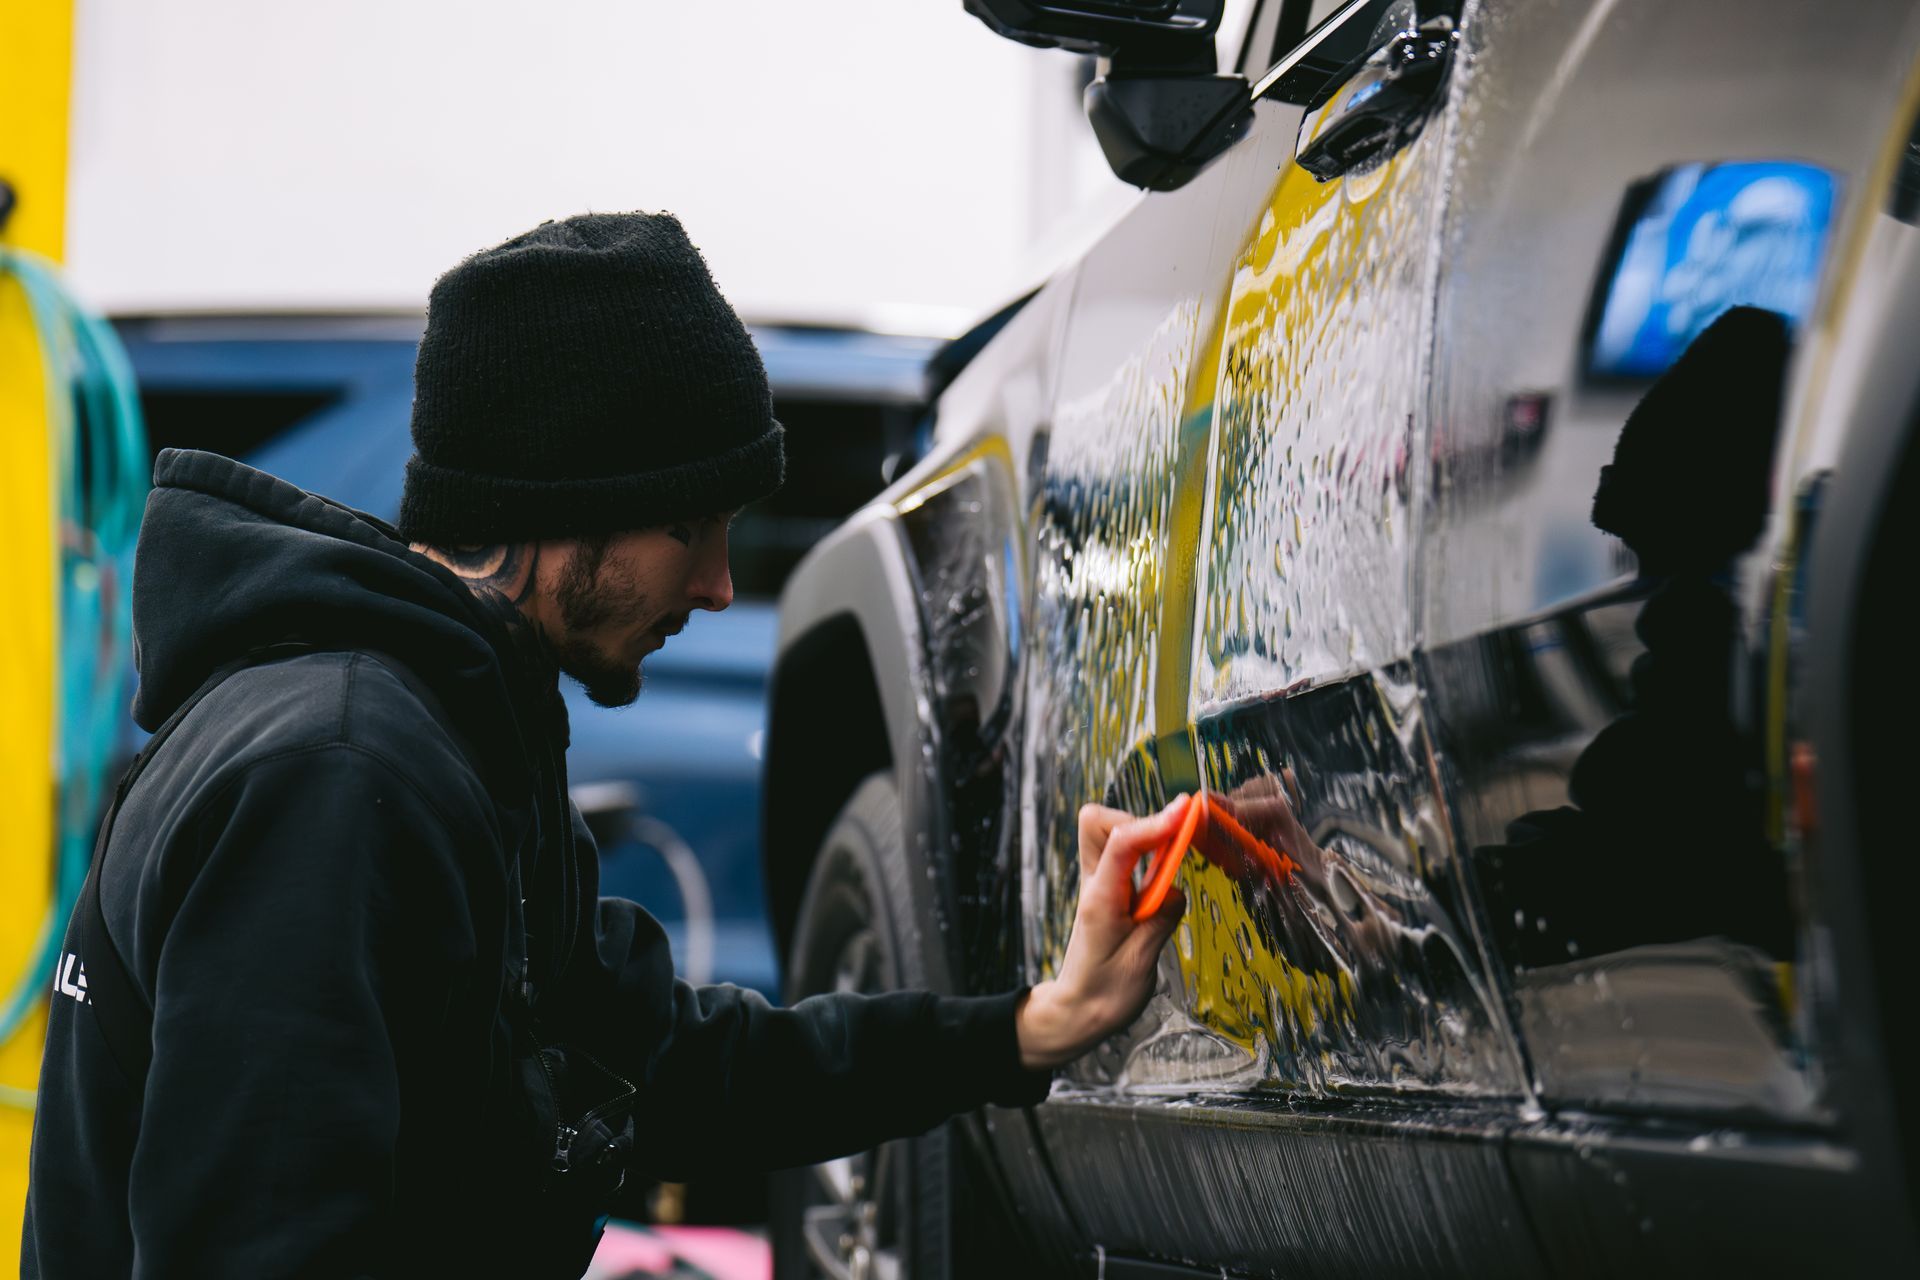
Step 2: Remove Surface Contaminants
Even after washing, your paint may still contain embedded contaminants that cannot be removed through standard cleaning.
Clay Bar Treatment
A clay bar safely removes bonded contaminants such as brake dust, tree sap, and industrial fallout. When gliding a clay bar across lubricated paint, you will feel resistance at first. As contaminants are removed, the surface becomes smooth.
Use a dedicated clay lubricant and work in small sections. Always fold the clay frequently to avoid reintroducing debris.
Chemical Decontamination
For deeper contamination, especially iron particles, chemical decontamination is required. Iron removers react with embedded particles and dissolve them safely.
This step is especially important in areas like Towson and Owings Mills, where brake dust and industrial pollutants are common.
Combining clay and chemical treatments ensures a completely clean surface, which is critical for ceramic coating performance.
Step 3: Paint Correction Through Polishing
Once the surface is clean, polishing is used to correct imperfections and enhance gloss.
Polishing removes minor scratches, swirl marks, and oxidation by leveling the paint surface. This step is essential because ceramic coatings lock in whatever condition the paint is in.
Types of Polishing Compounds
- Cutting compounds remove deeper imperfections and are used on heavily worn paint
- Finishing compounds refine the surface and enhance clarity
Most vehicles benefit from a two-step polishing process. First, a cutting compound corrects defects. Then, a finishing polish creates a smooth, reflective surface.
Choosing the Right Approach
Not all paint systems are the same. Softer paints require less aggressive polishing, while harder paints may need more correction.
A test spot should always be performed to determine the correct combination of pad, compound, and machine settings.
Step 4: Buffing for Maximum Gloss
Proper buffing techniques bring out the depth and clarity of your vehicle’s finish.
Machine Buffing
A dual-action polisher is the safest and most effective tool for most applications. It reduces the risk of overheating or damaging the paint.
Use overlapping passes in a cross pattern to ensure even correction. Keep the pad flat against the surface and apply light to moderate pressure.
Hand Buffing
Hand buffing is useful for tight areas such as edges, badges, and trim. Use soft microfiber cloths and gentle circular motions to refine these sections.
Key Differences
- Machine buffing is ideal for large panels and consistent results
- Hand buffing is best for detailed areas and finishing touches
Combining both methods ensures a uniform finish across the entire vehicle.

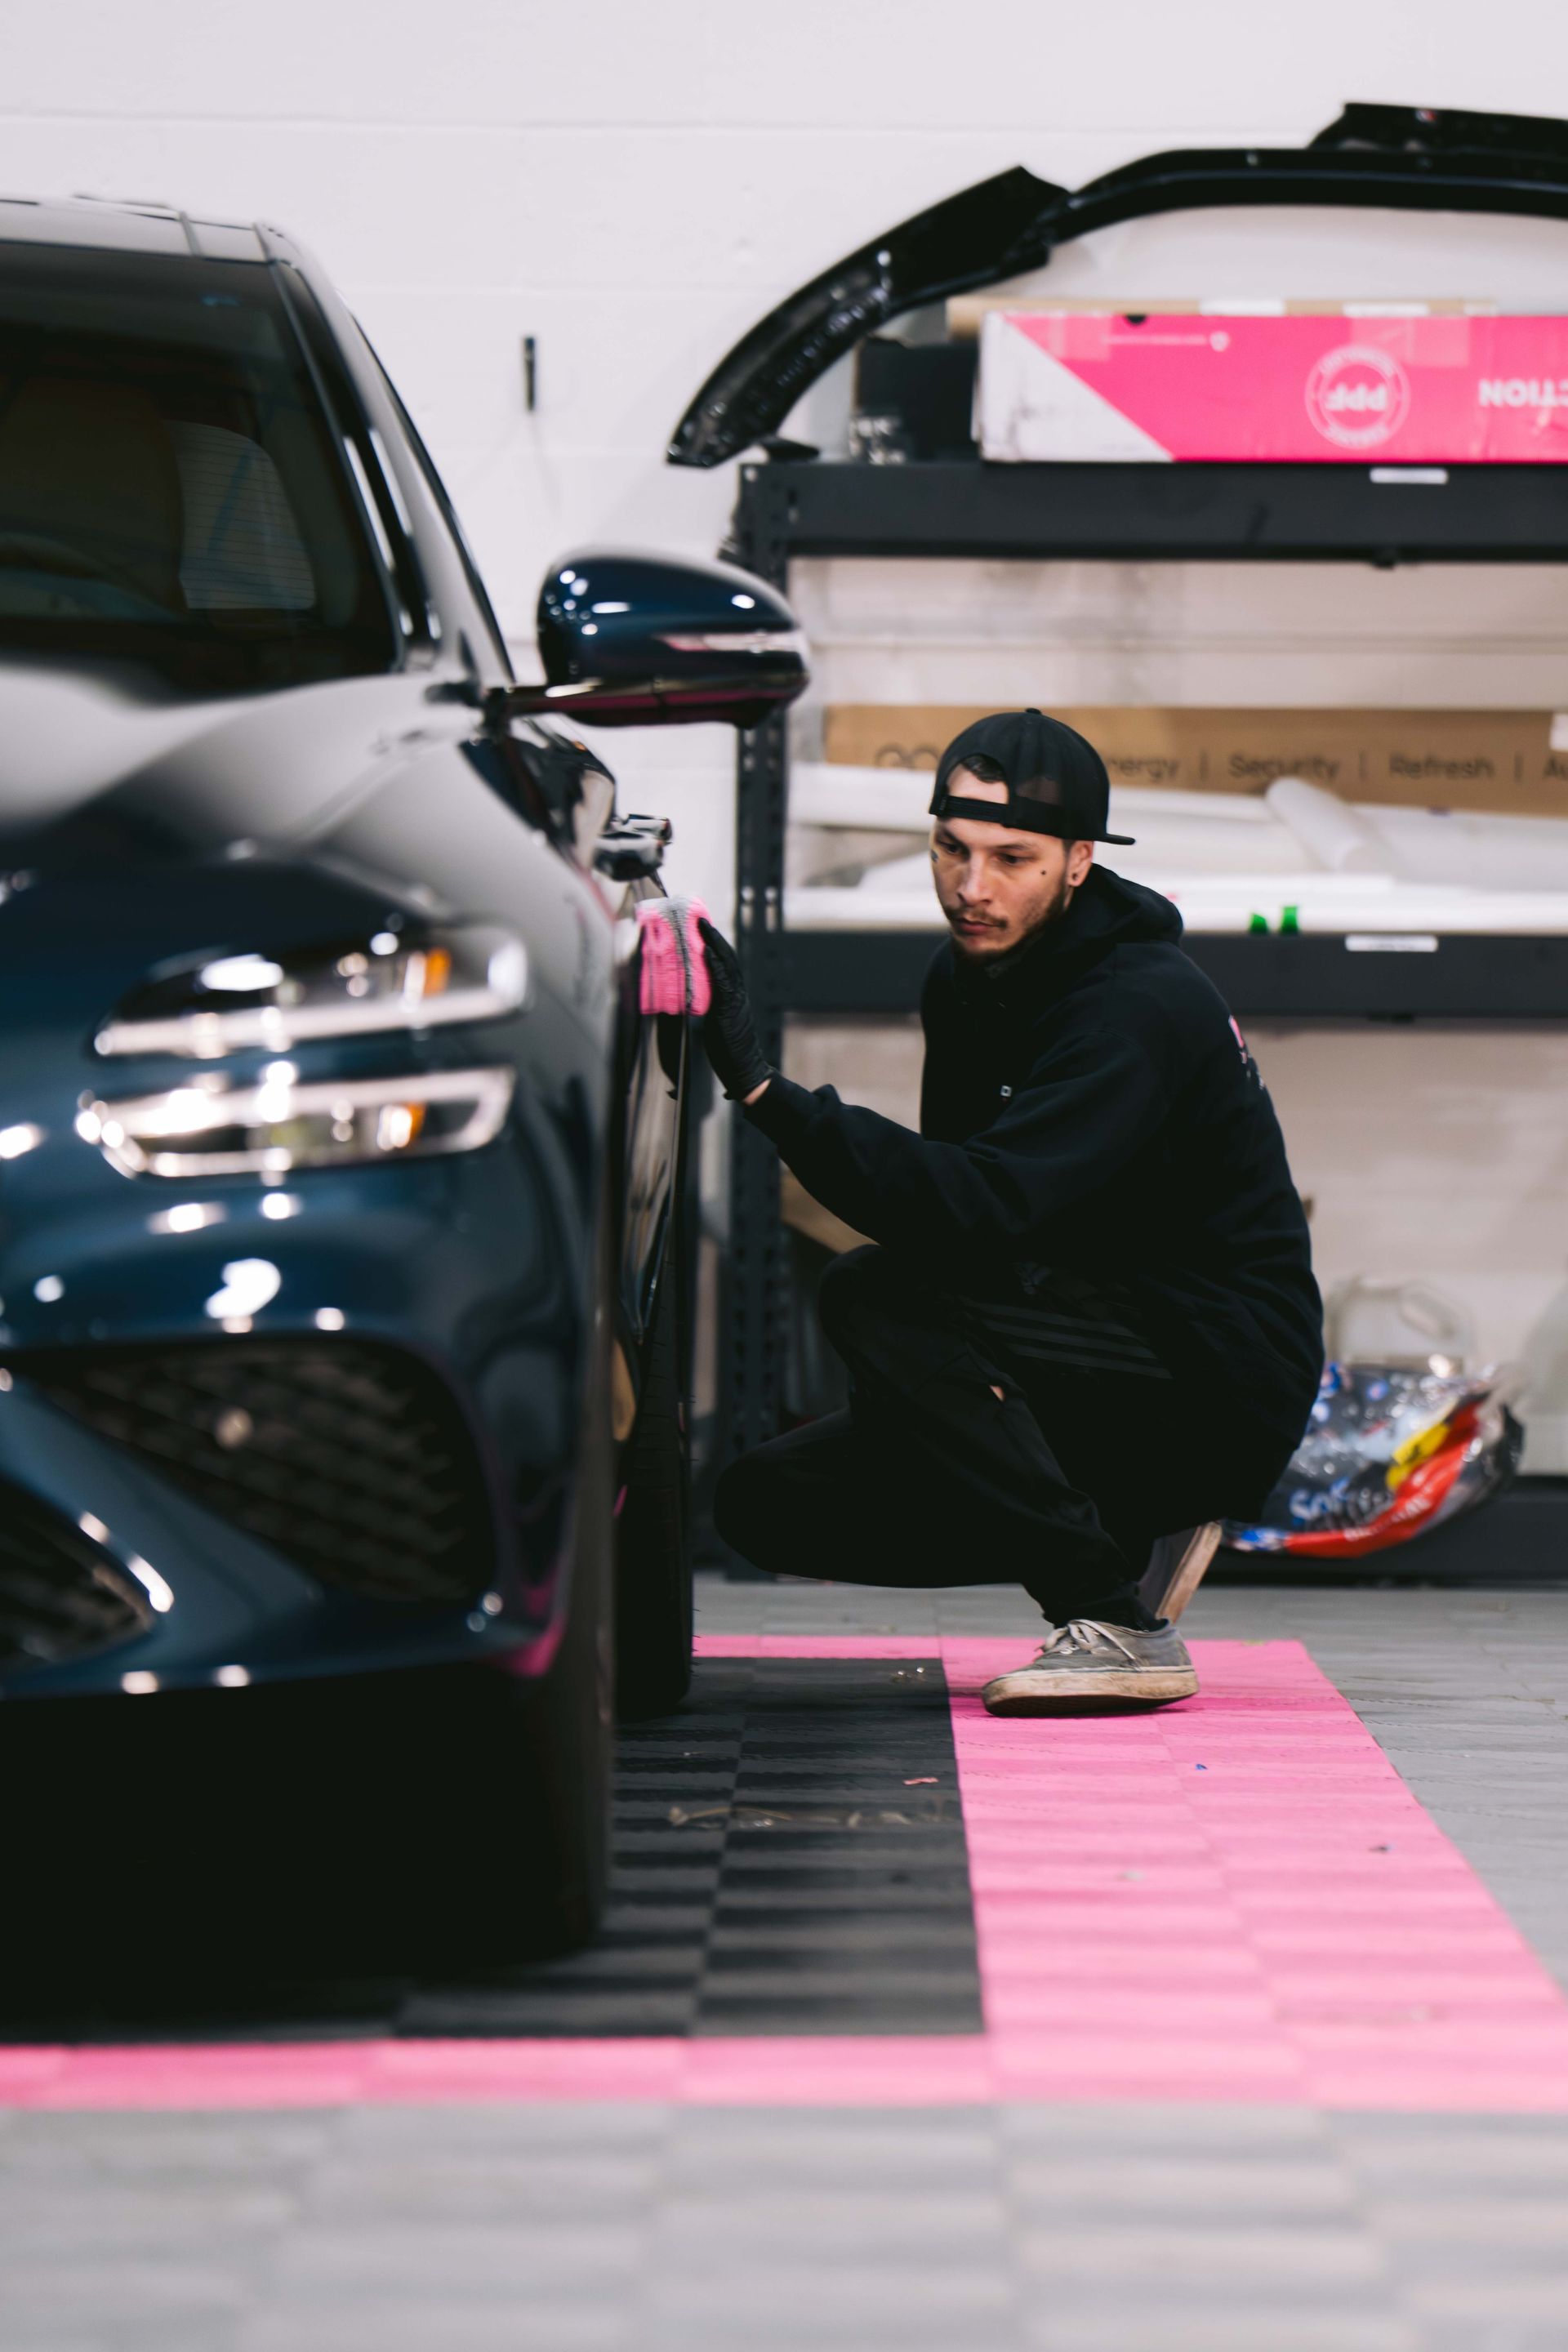
Step 5: Final Surface Preparation
Before applying ceramic coating, the surface must be completely free of oils and residue.
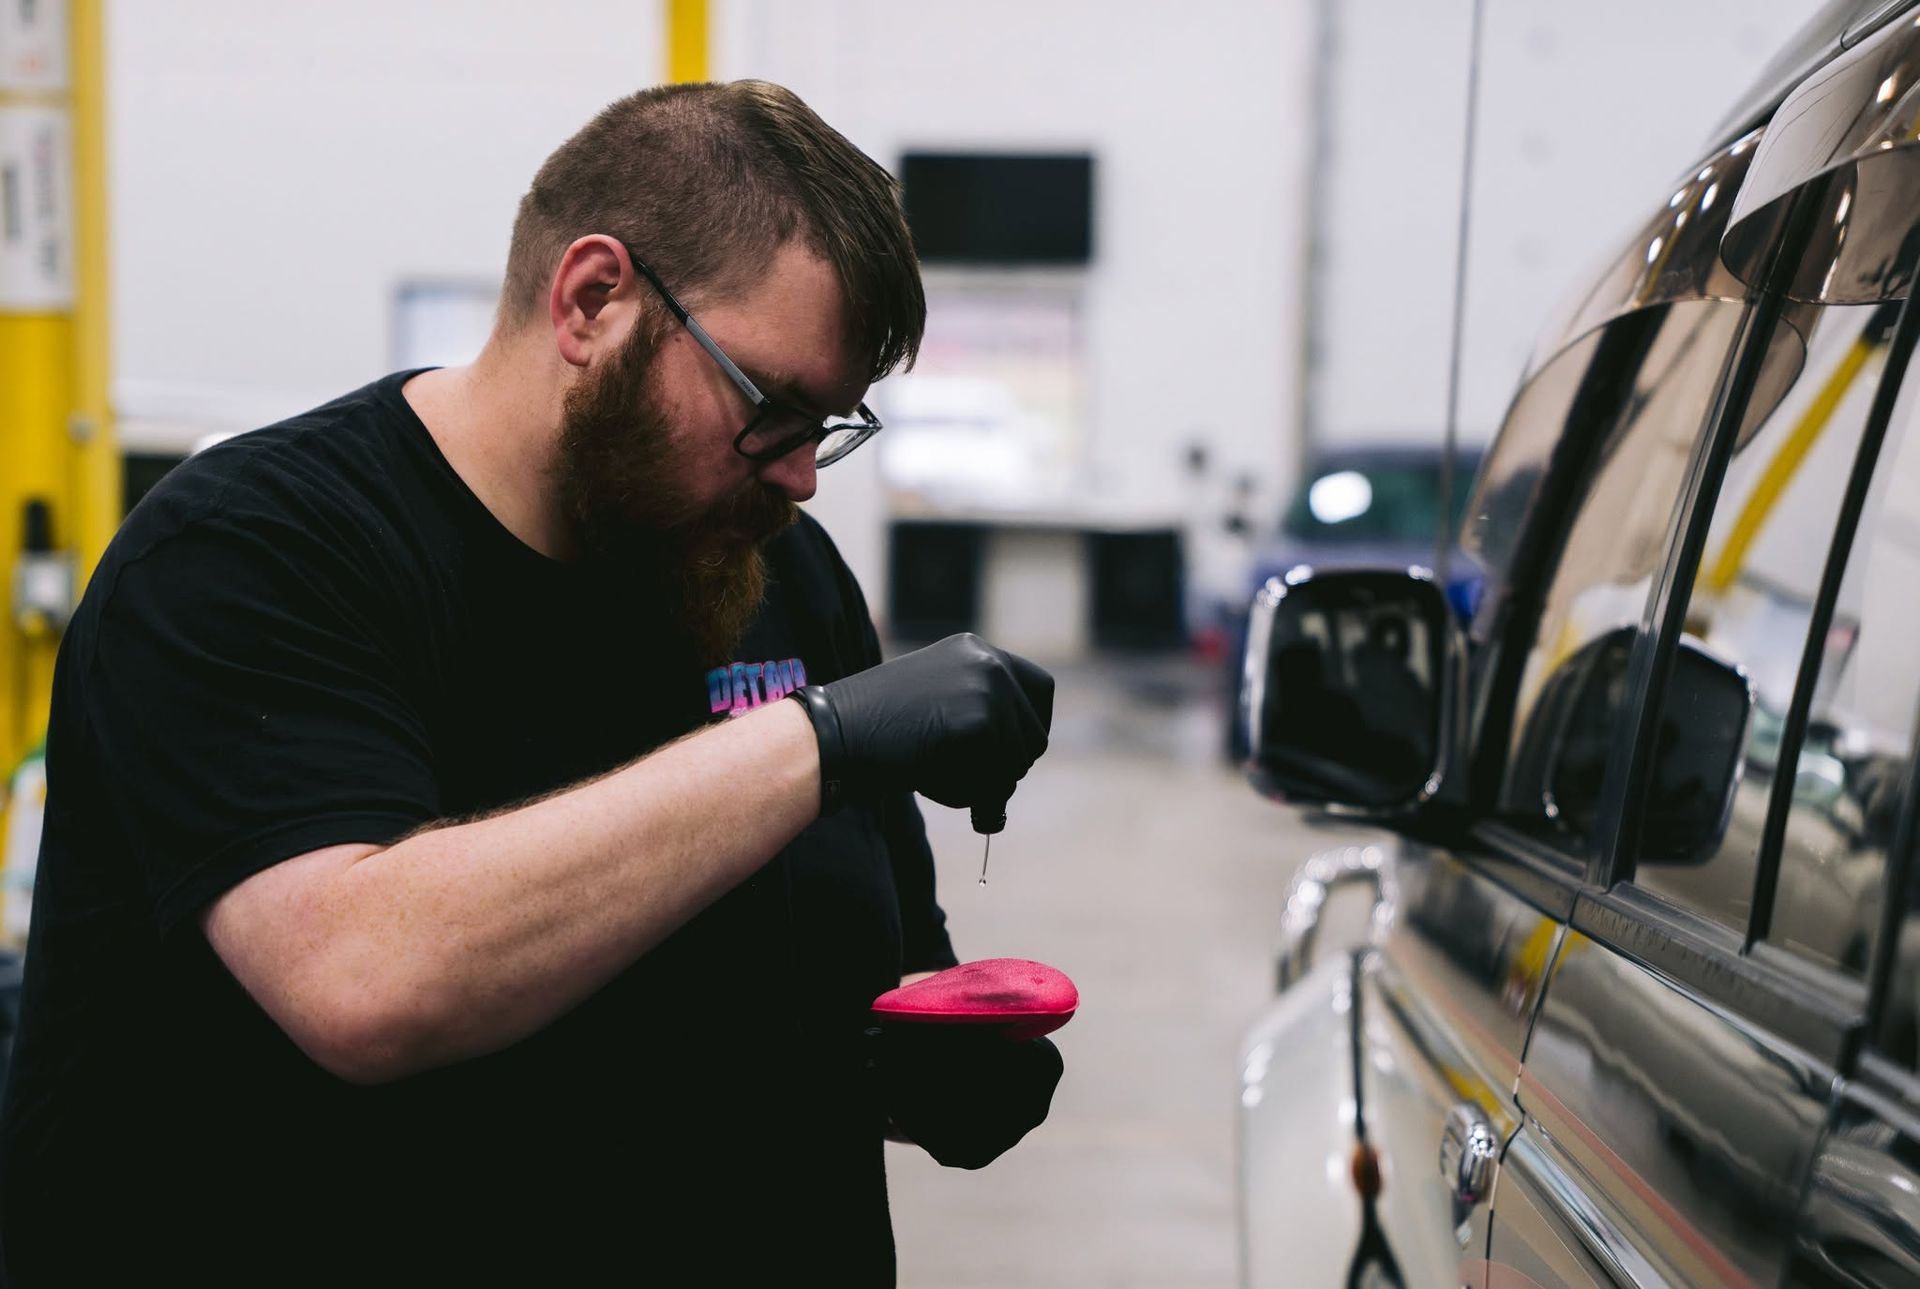
IPA Wipe-Down
An isopropyl alcohol solution removes polishing oils that can prevent proper bonding. Apply the solution to a microfiber towel and wipe each panel carefully.
Avoid oversaturating the surface. Work in small sections and ensure complete coverage.
Inspection
Use strong LED lighting to inspect the paint from multiple angles. Look for haze, missed spots, or remaining defects.
This step ensures the surface is fully prepared before applying the coating. Skipping inspection can lead to visible imperfections once the coating cures.
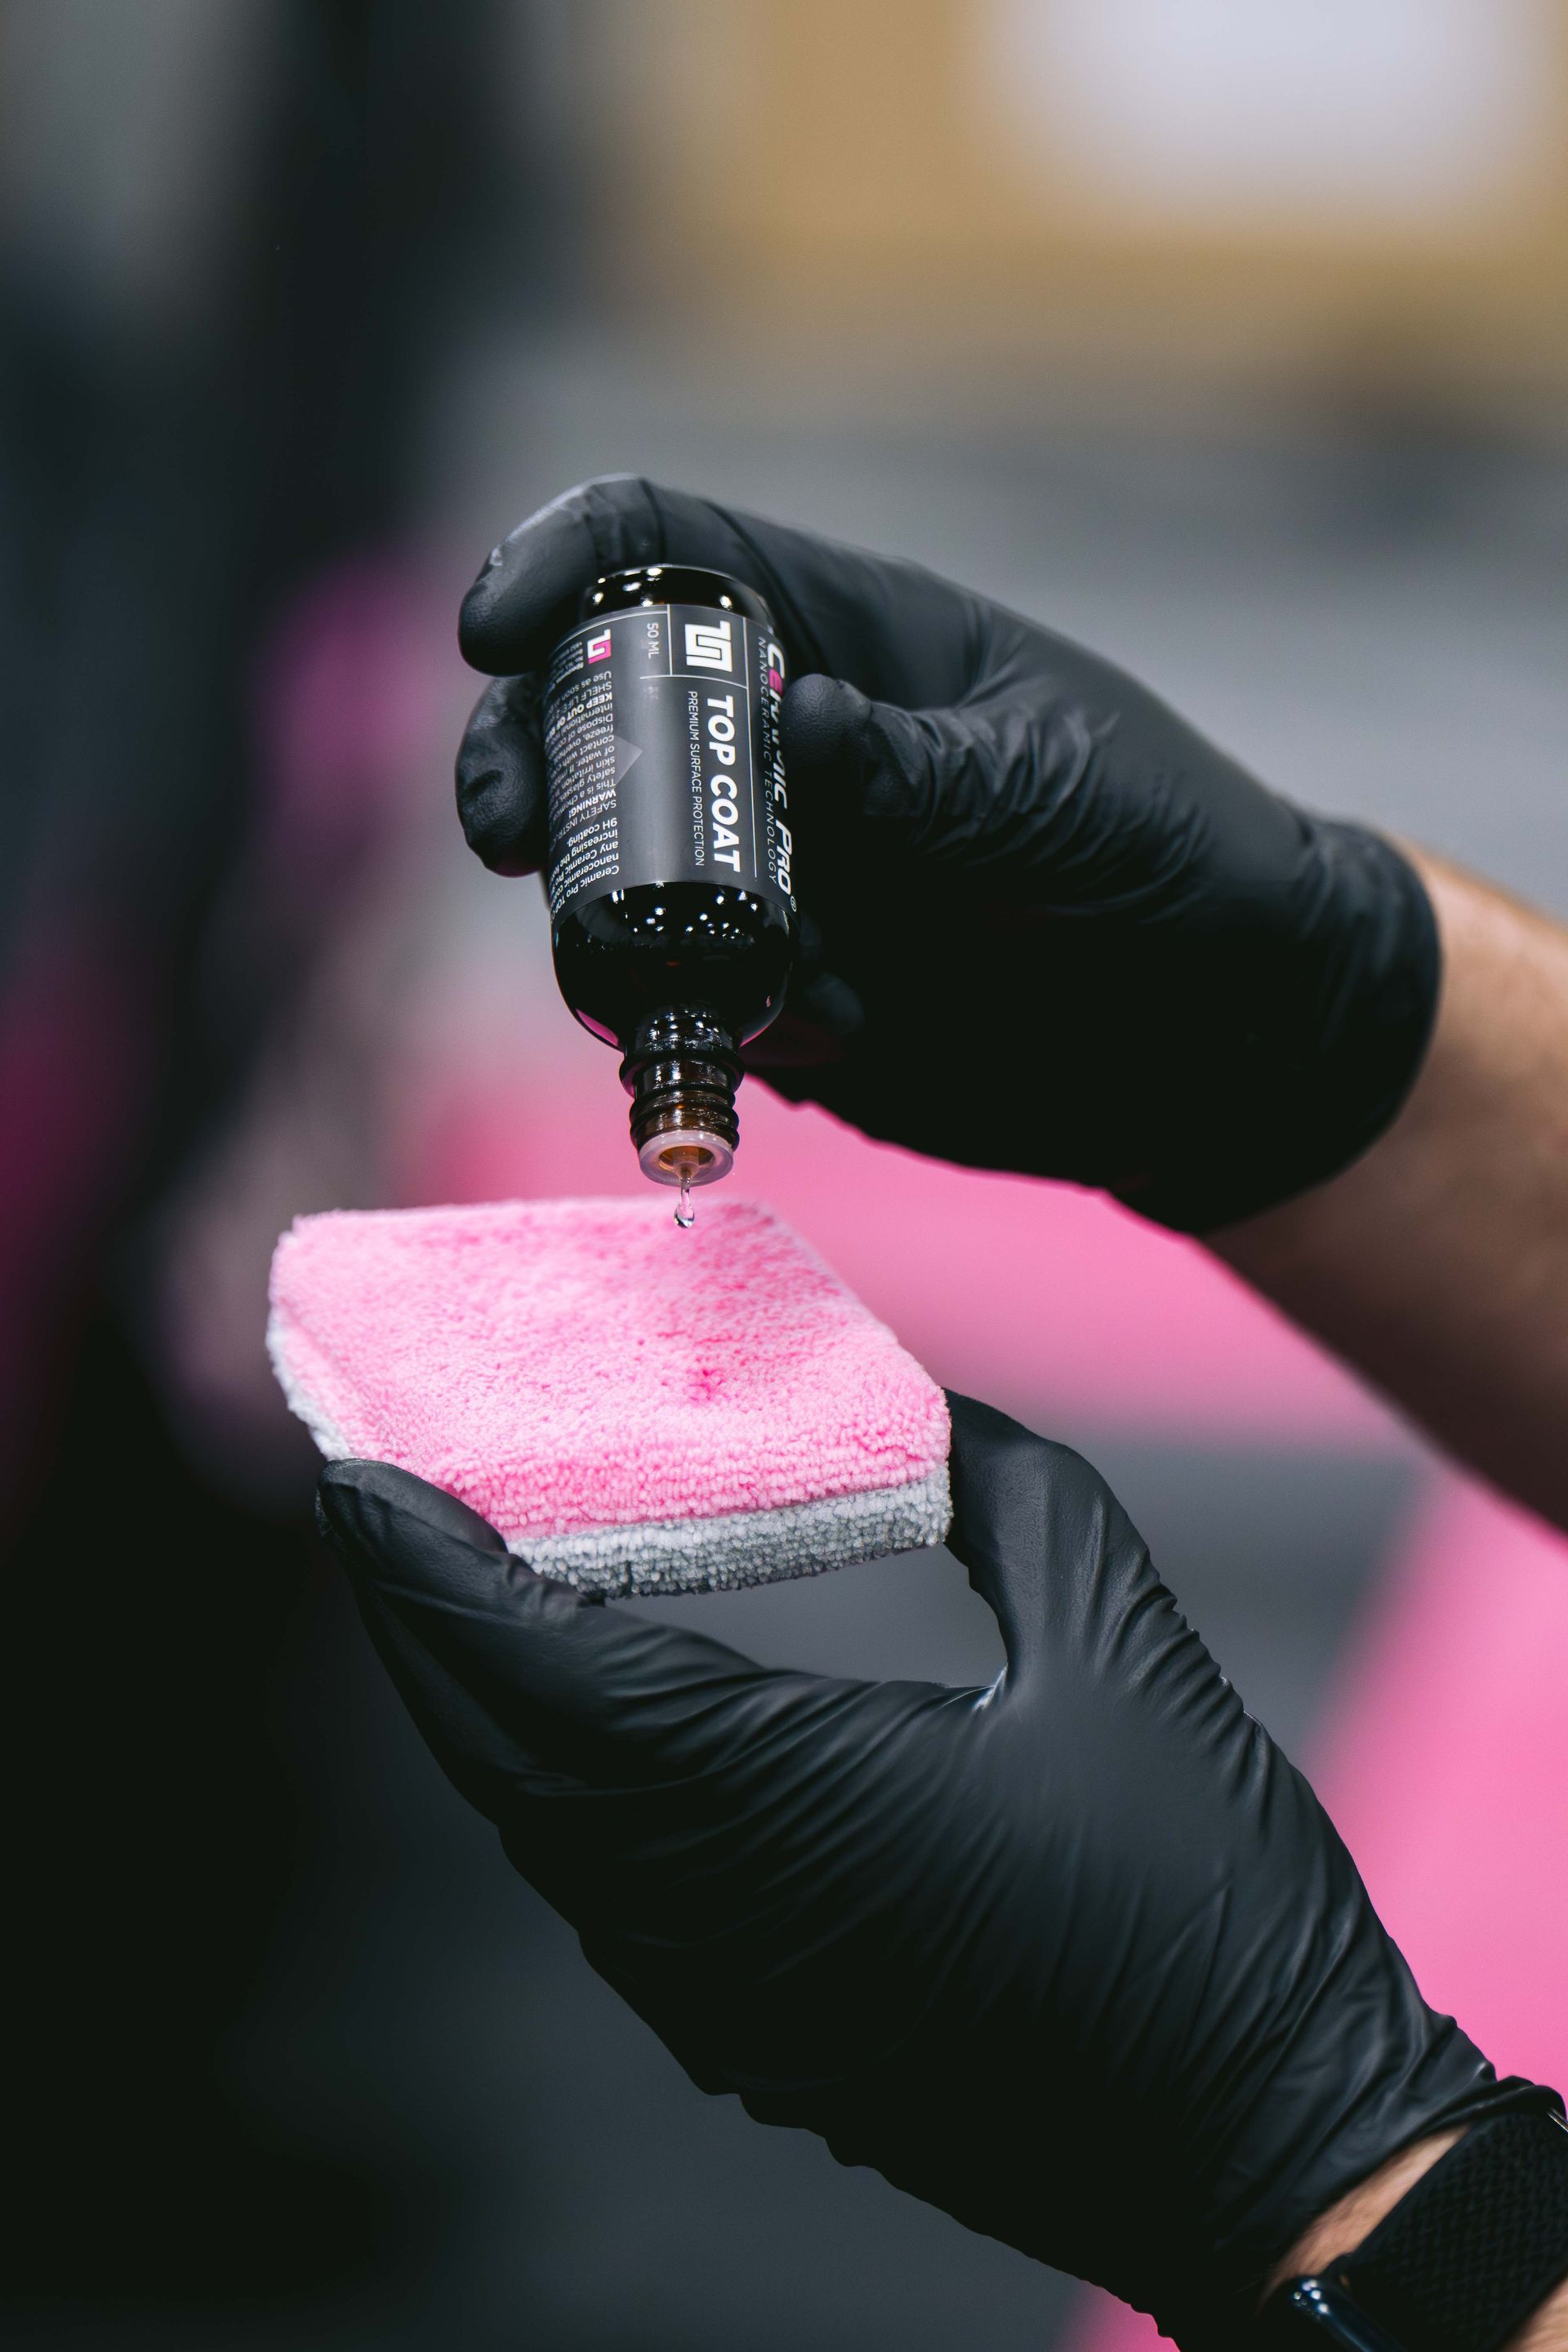
Step 6: Maintaining Ceramic Coating Results
Proper maintenance is key to preserving the benefits of your ceramic coating.
Initial Curing Period
After application, keep the vehicle dry for at least 24 to 48 hours. This allows the coating to bond properly.
Avoid washing or exposing the vehicle to rain during this time.
Ongoing Maintenance
- Use pH-neutral shampoos for regular washing
- Avoid automatic car washes with brushes
- Dry with high-quality microfiber towels
- Remove contaminants like bird droppings quickly
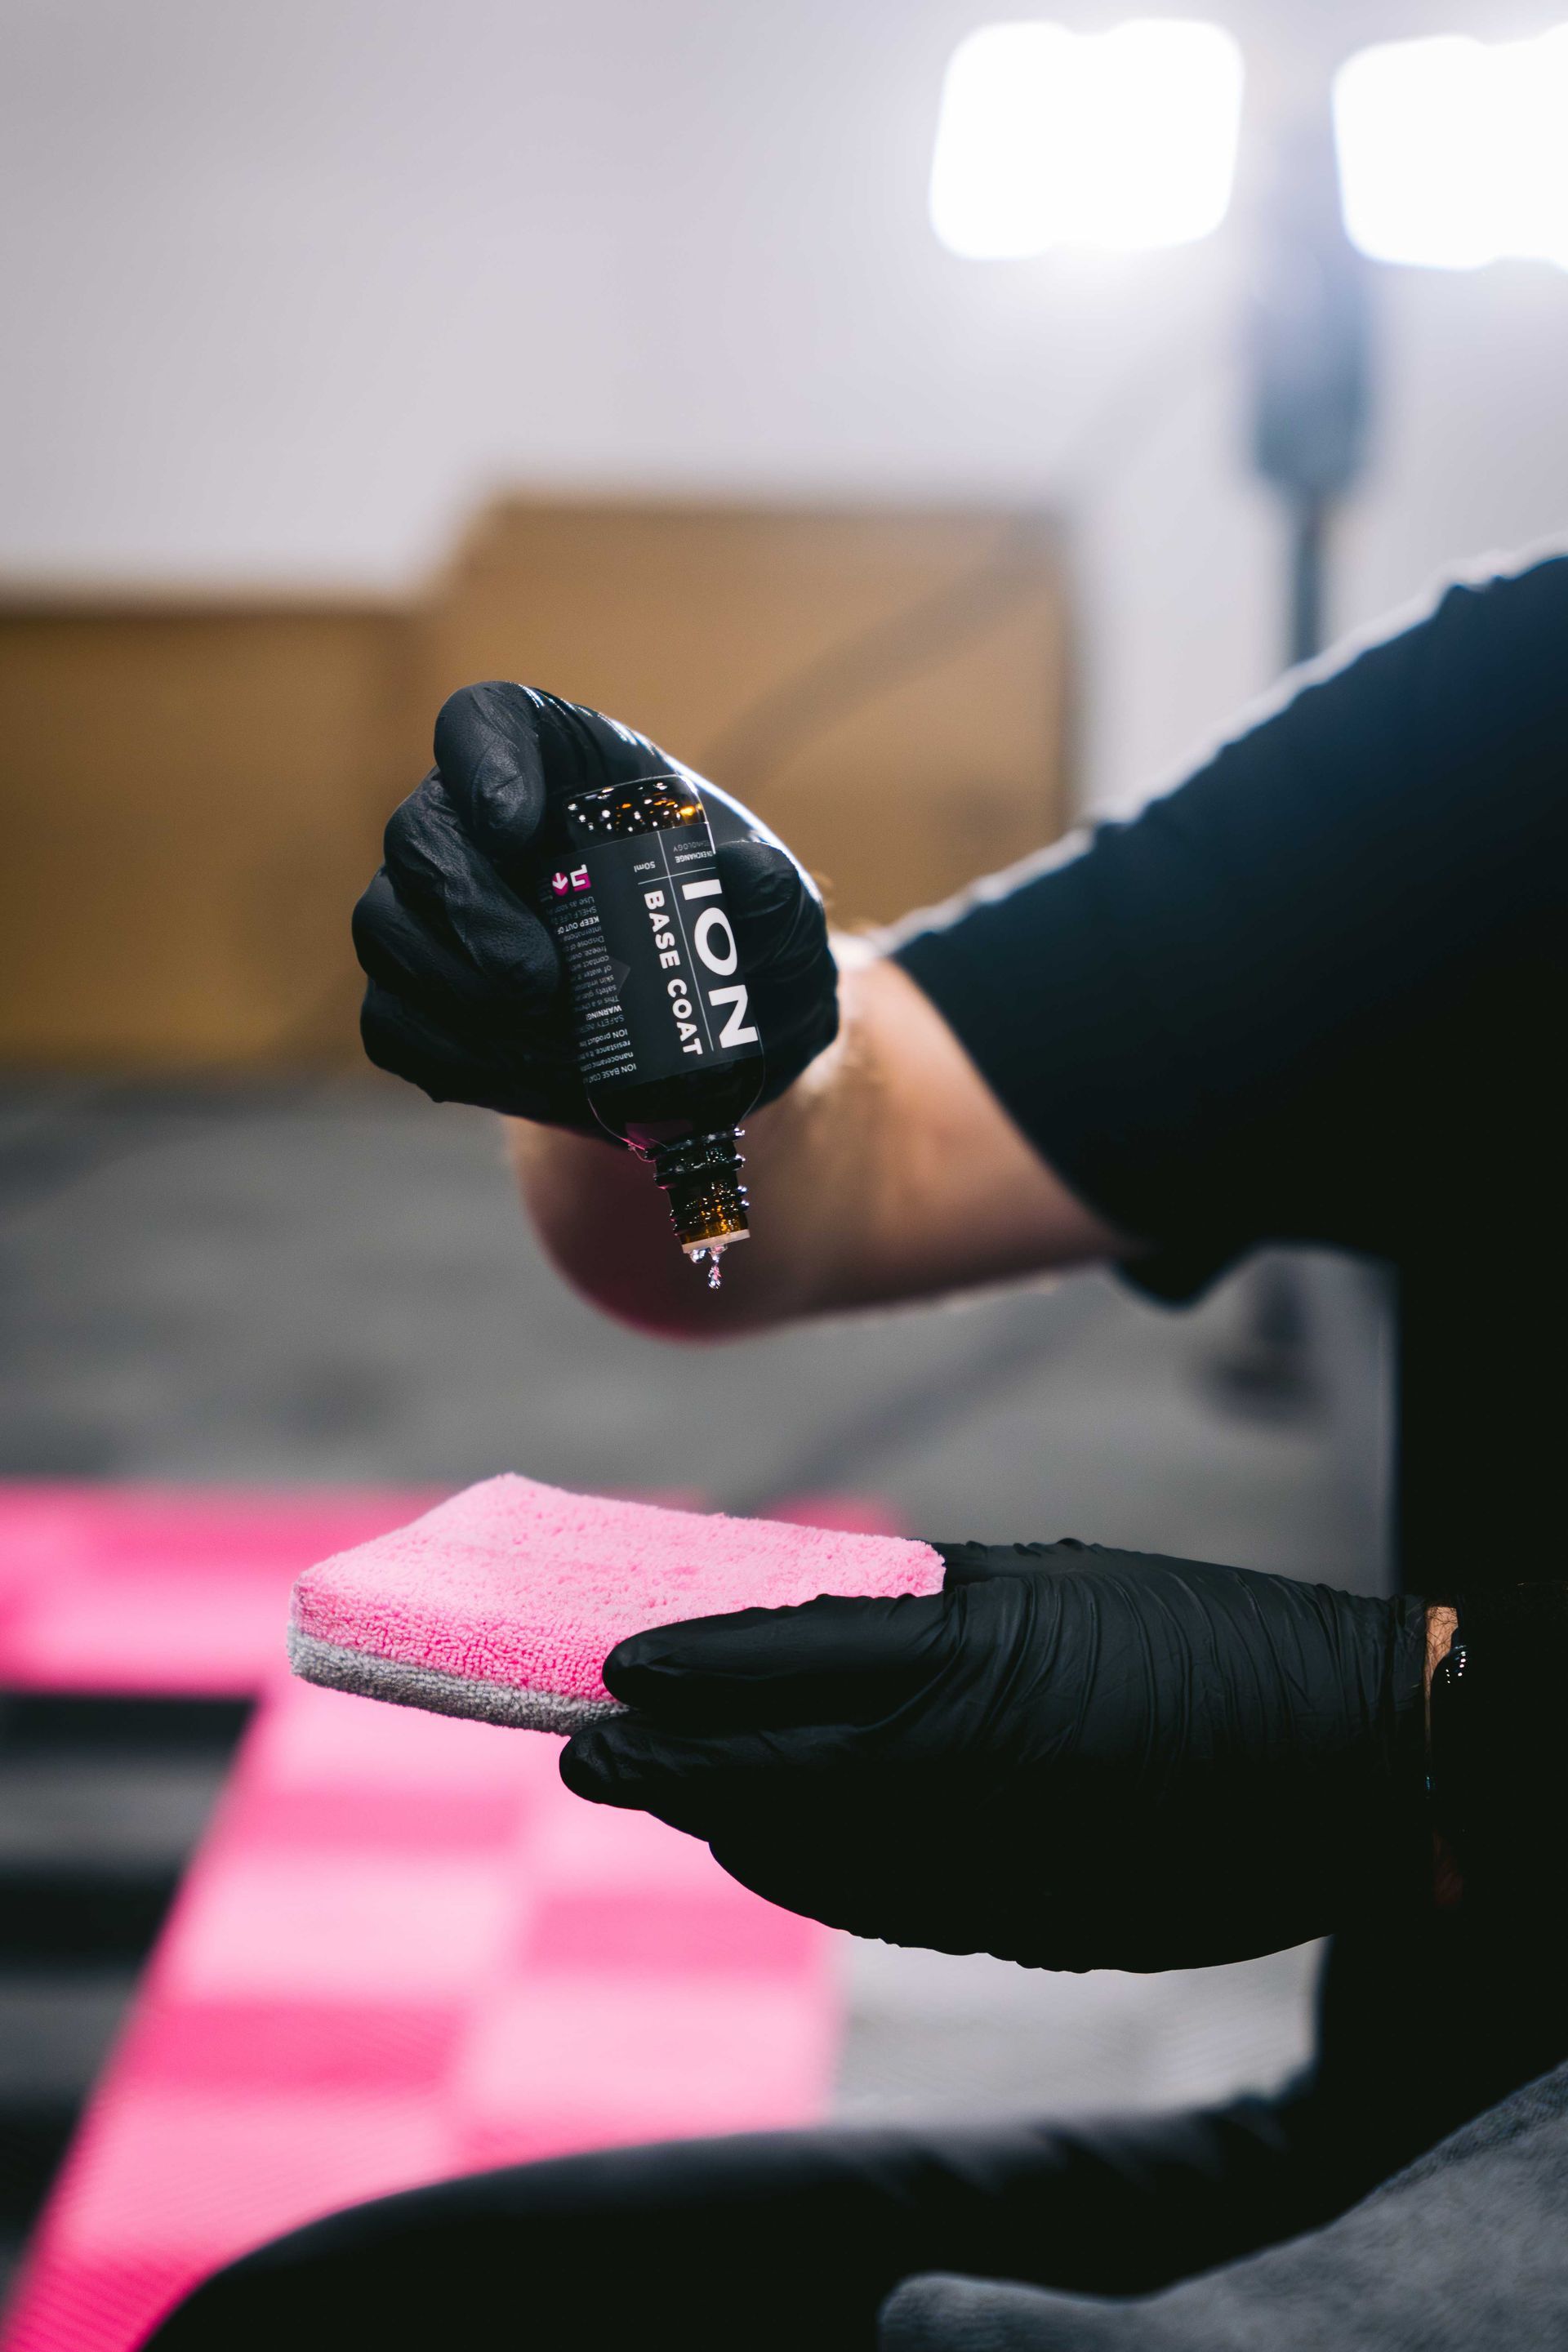
Booster Applications
Maintenance sprays help restore hydrophobic properties and extend coating life. Applying a booster every few months helps maintain gloss and protection.
Why Professional Prep Matters
While DIY preparation is possible, it requires time, experience, and the right tools. Improper prep can lead to coating failure, uneven finishes, and wasted investment.
At Detail Solutions, we follow a proven process that ensures:
- Proper coating adhesion
- Maximum gloss and clarity
- Long-lasting protection
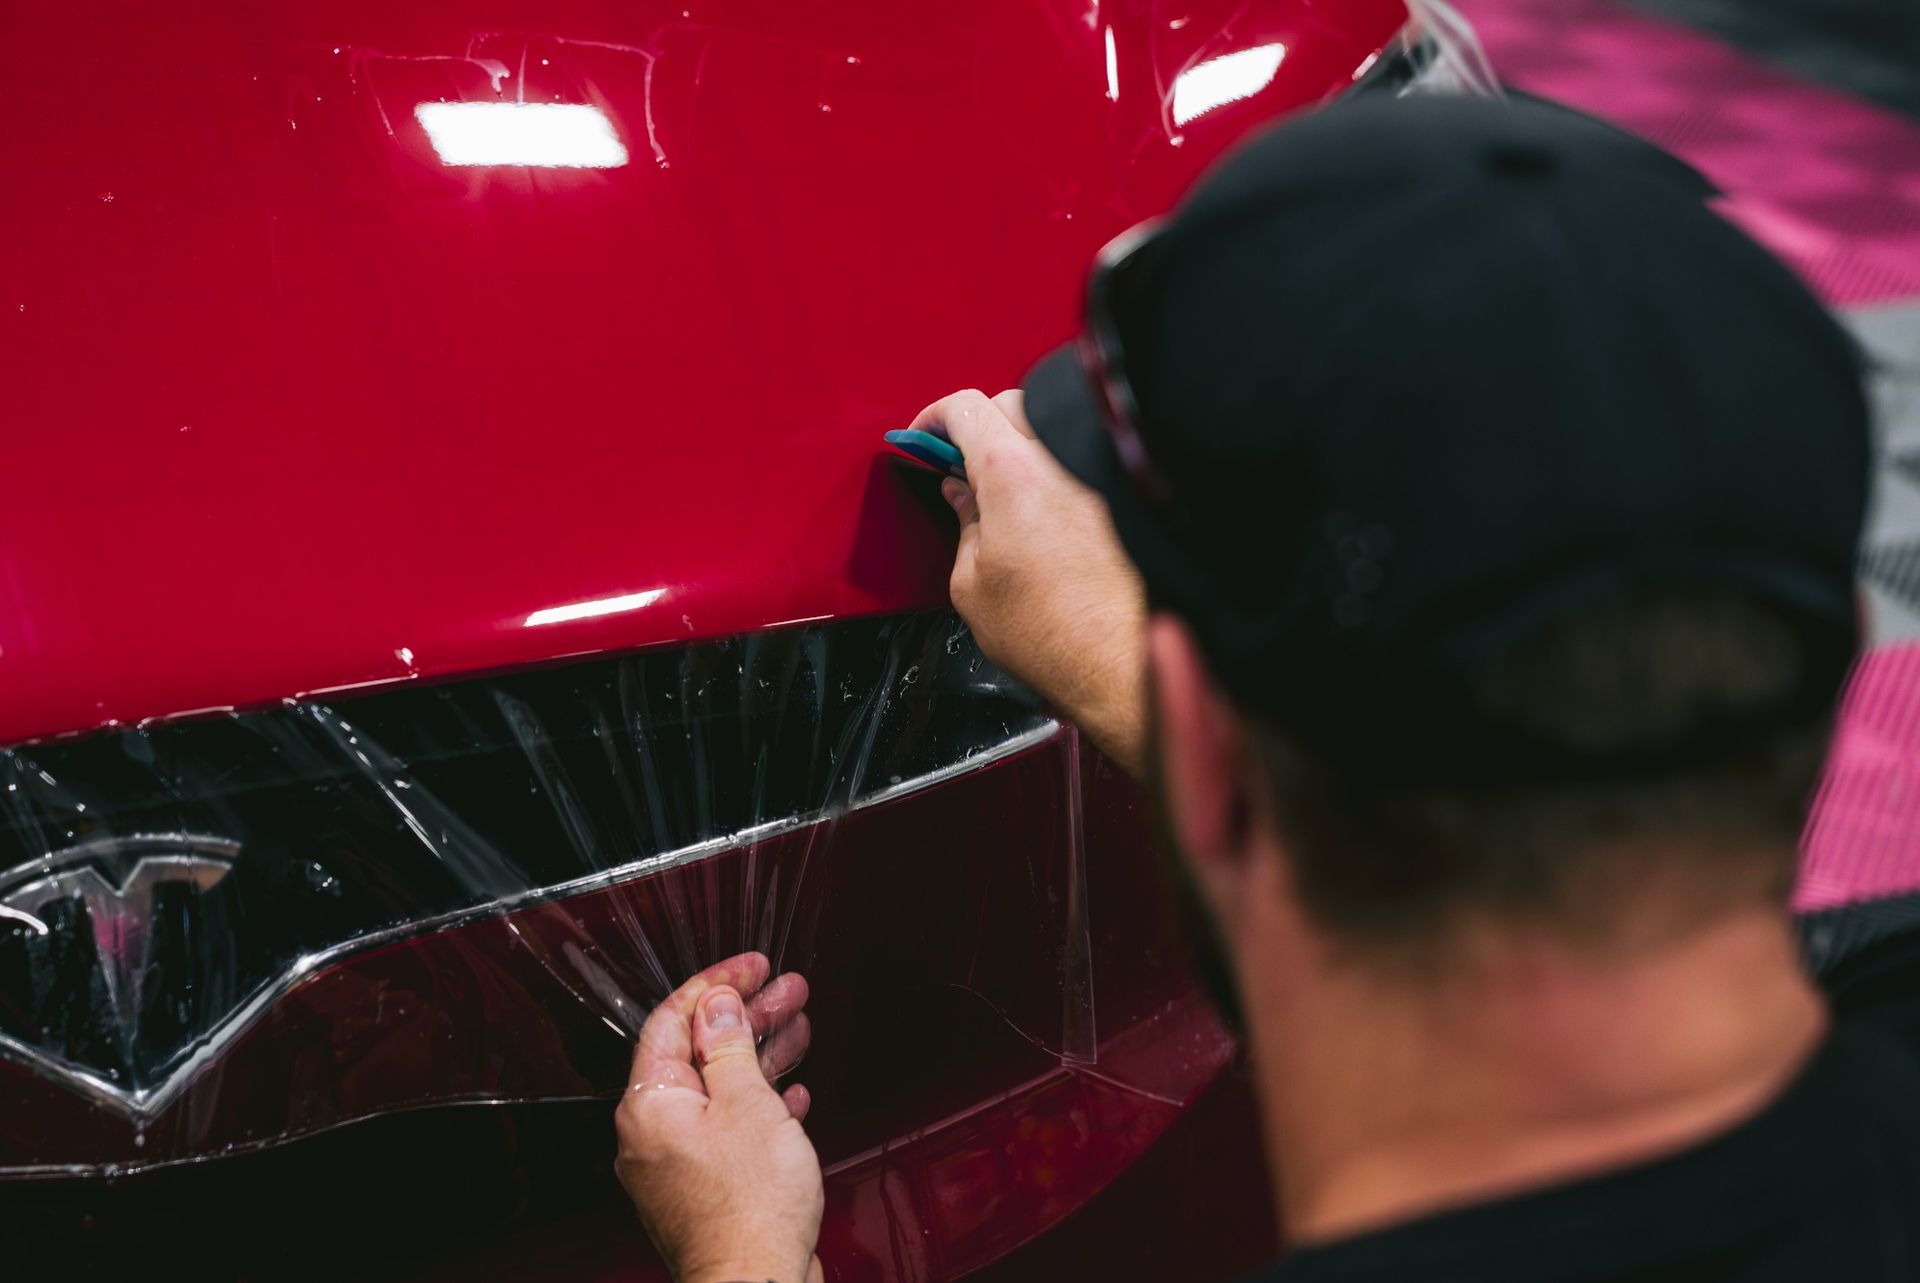
We also evaluate your vehicle’s condition and recommend additional services such as paint protection film or window tinting for complete protection.
Ceramic Coating FAQs
How long does ceramic coating prep take?
Preparation can take several hours to multiple days depending on the condition of the vehicle and the level of correction required.
Can I skip polishing before ceramic coating?
Skipping polishing may result in visible imperfections being locked under the coating. Polishing is highly recommended for best results.
Is clay bar necessary before coating?
Yes. Clay bar treatment removes contaminants that washing alone cannot eliminate.
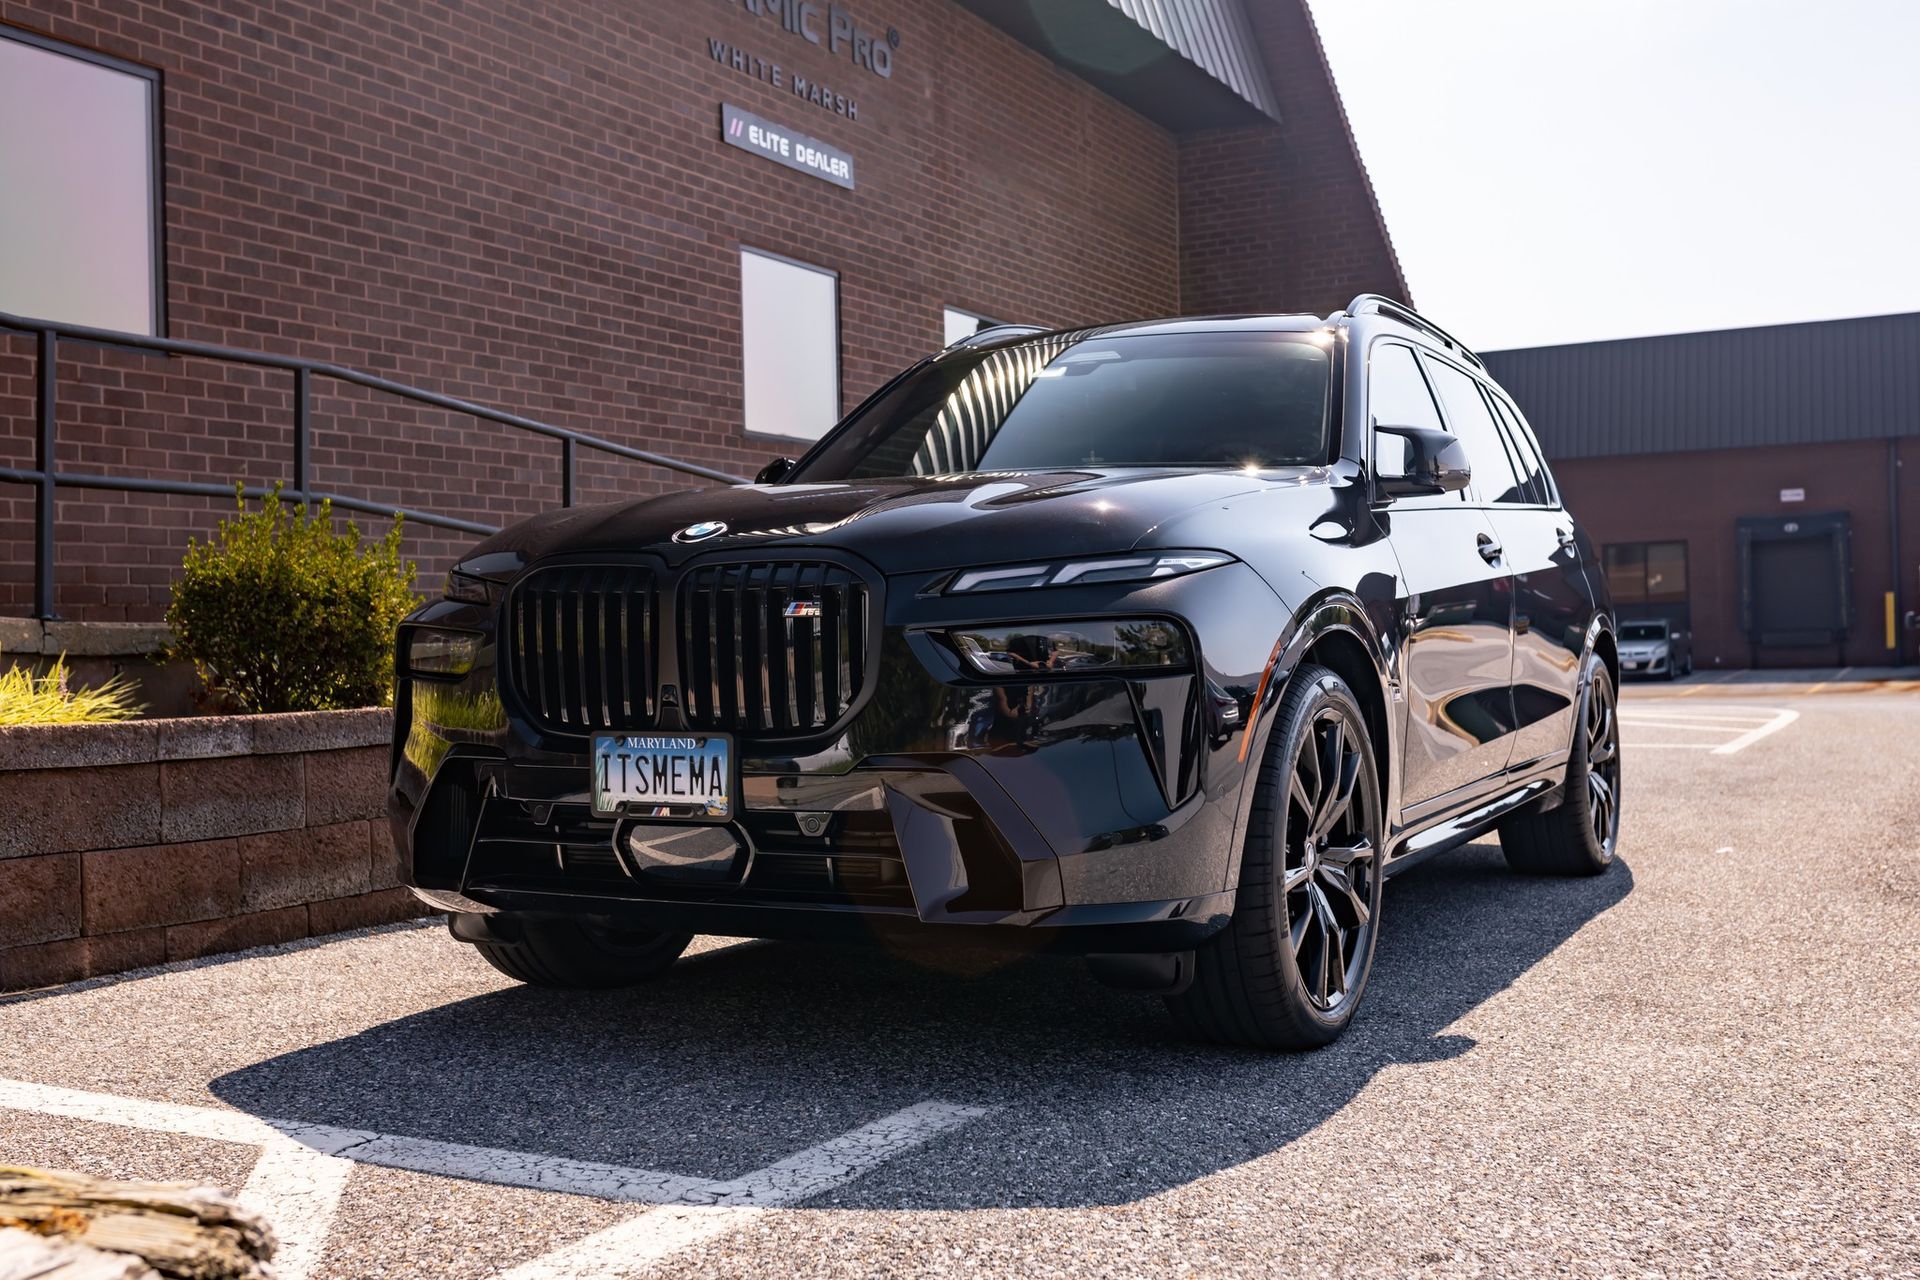
Get Professional Ceramic Coating in Baltimore, MD.
If you want a flawless finish and long-lasting protection, professional preparation makes all the difference.
Detail Solutions proudly serves Baltimore, Essex, Perry Hall, Towson, Bel Air, and surrounding Maryland communities with expert ceramic coating, paint protection film, and window tinting services.
Skip the guesswork and let our team deliver results that last.
Schedule your service today!
Contact us or call us at (410) 238-3000.