How Professional PPF Installers Create Seamless Edges in Baltimore
Paint protection film can help preserve a vehicle’s finish against road debris, staining, minor surface damage, and environmental exposure. However, the quality of the result depends on more than the film itself. One of the clearest signs of a professional PPF installation is how carefully the edges are positioned, wrapped, trimmed, and inspected.
For drivers in Baltimore, White Marsh, Essex, Perry Hall, Towson, and nearby Maryland communities, clean PPF edges are especially important. Highway debris, winter road salt, summer humidity, frequent washing, and temperature changes can place stress on poorly finished film. When installed correctly, PPF should follow the vehicle’s body lines closely and appear smooth from normal viewing angles.
At Detail Solutions, the goal is not simply to apply film. It is to create a precise, durable finish that complements the vehicle and provides reliable protection.
Why Are PPF Edges Difficult to Install?
Paint protection film is a flexible urethane material designed to conform to painted surfaces. Vehicle panels, however, include tight corners, recessed areas, sensors, trim pieces, and complex curves.
These areas require careful planning because the film must be positioned with balanced tension. Excessive stretching can distort the finish or pull the film away from an edge. Too little tension can leave wrinkles or loose sections that collect dirt and moisture.
Not every edge can be wrapped. Available space, panel shape, installation pattern, and manufacturer guidance all affect how the film should be finished. A trained installer evaluates these factors and chooses the most appropriate method for each panel.

Surface Preparation Comes First
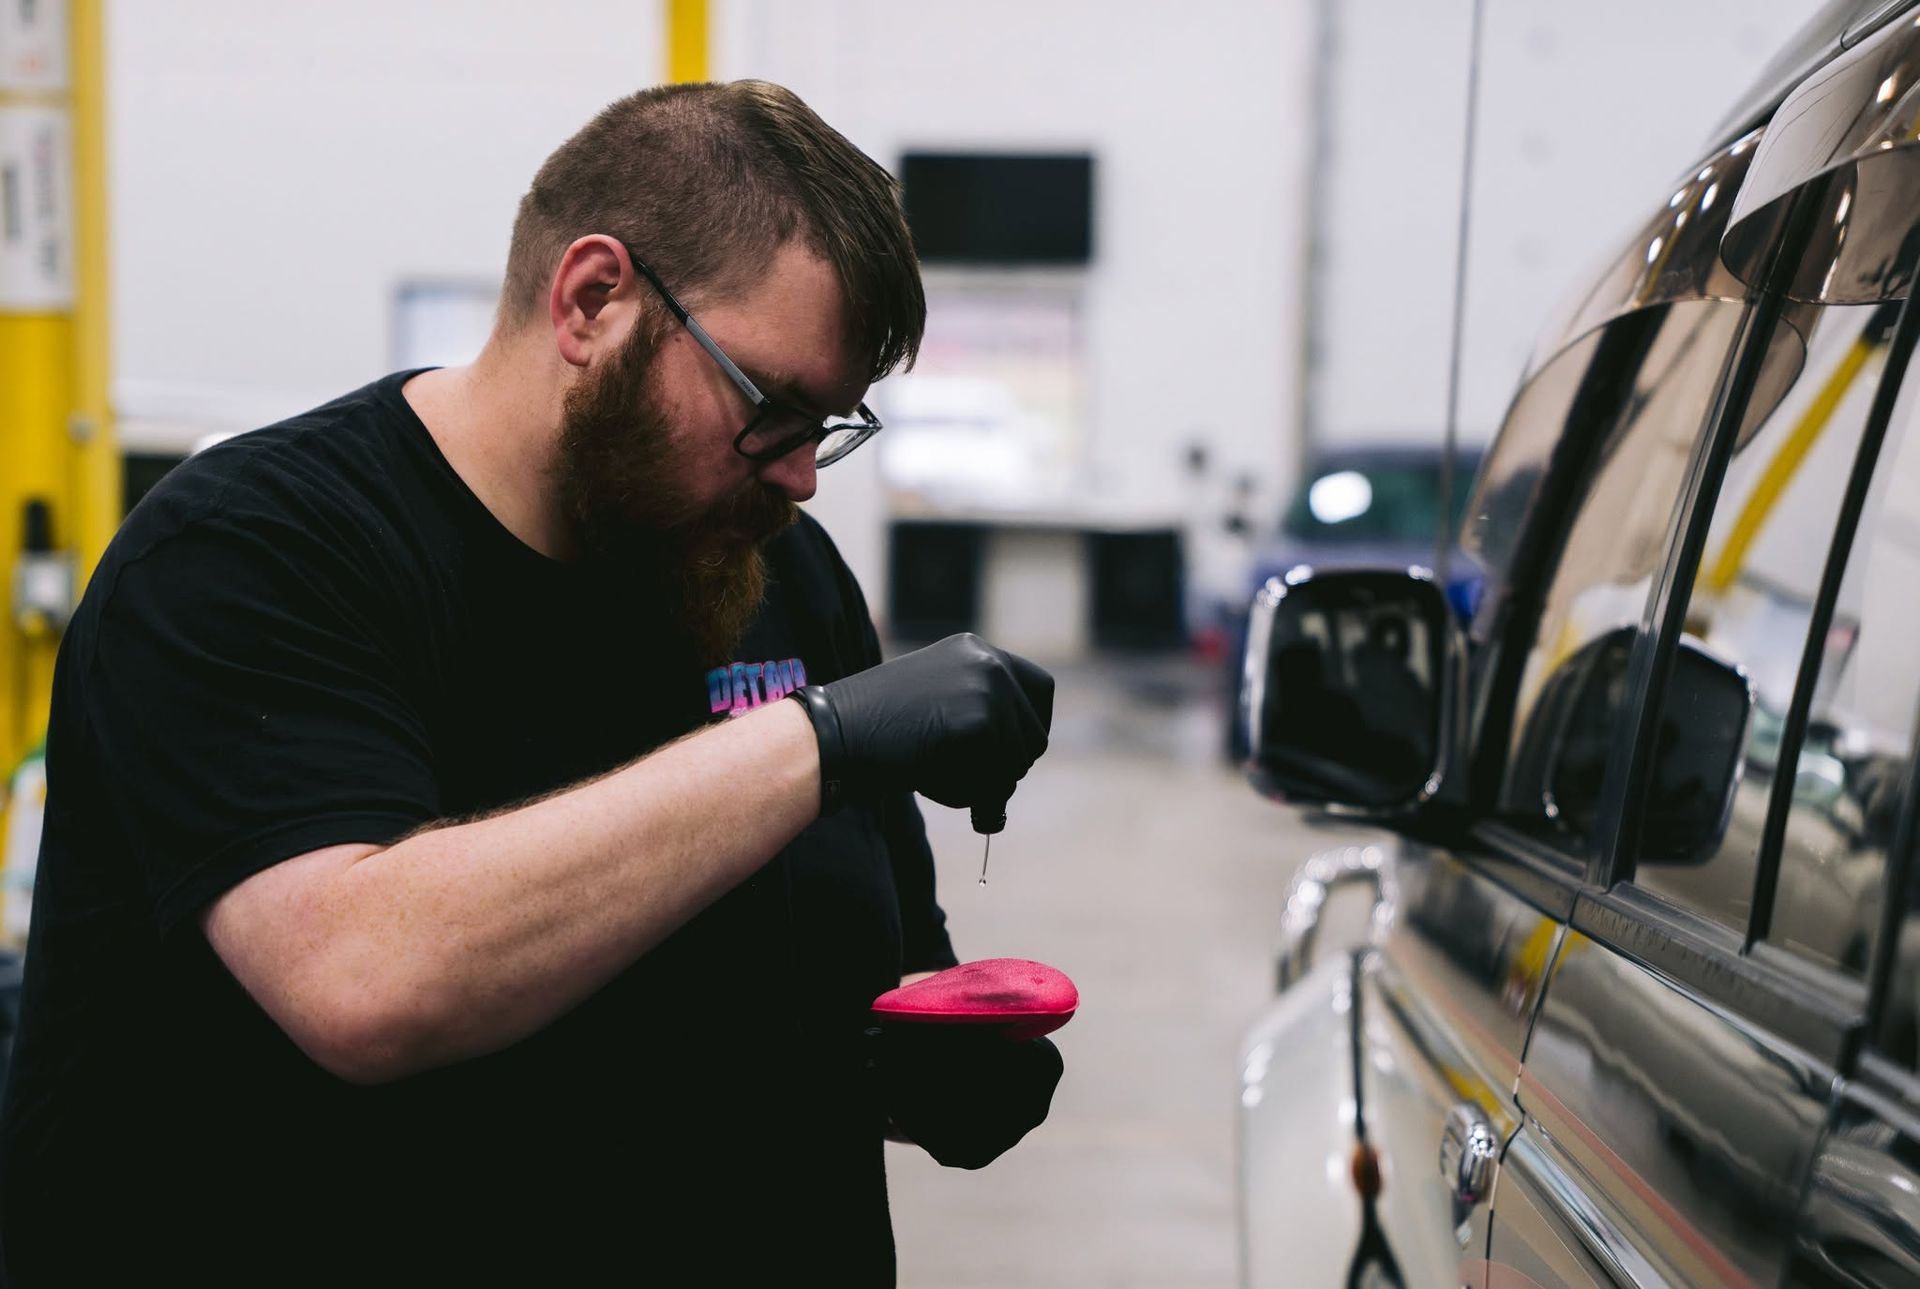
A seamless PPF installation begins before the film touches the paint. Dust, wax residue, oils, and embedded particles can interfere with adhesion or remain visible beneath the film.
A professional preparation process may include:
- A thorough hand wash
- Paint-safe chemical decontamination
- Clay treatment when needed
- Removal of wax, sealant, and oily residue
- Inspection under controlled lighting
- Paint correction when appropriate
A controlled workspace also helps reduce airborne dust, hair, pollen, and debris. If the vehicle has existing chips, stains, or paint defects, the installer should discuss them with the owner before moving forward. PPF is transparent and does not hide existing damage.
Vehicle-Specific Patterns and Positioning
Professional installers often use vehicle-specific plotter patterns designed for a particular make, model, and panel. These patterns can reduce unnecessary cutting near the paint and provide consistent coverage around sensors, trim, and body lines.
Custom adjustments may still be needed for modified vehicles, complex panels, full-body coverage, or color-change PPF. The installer should confirm that the pattern fits the actual vehicle before final placement.
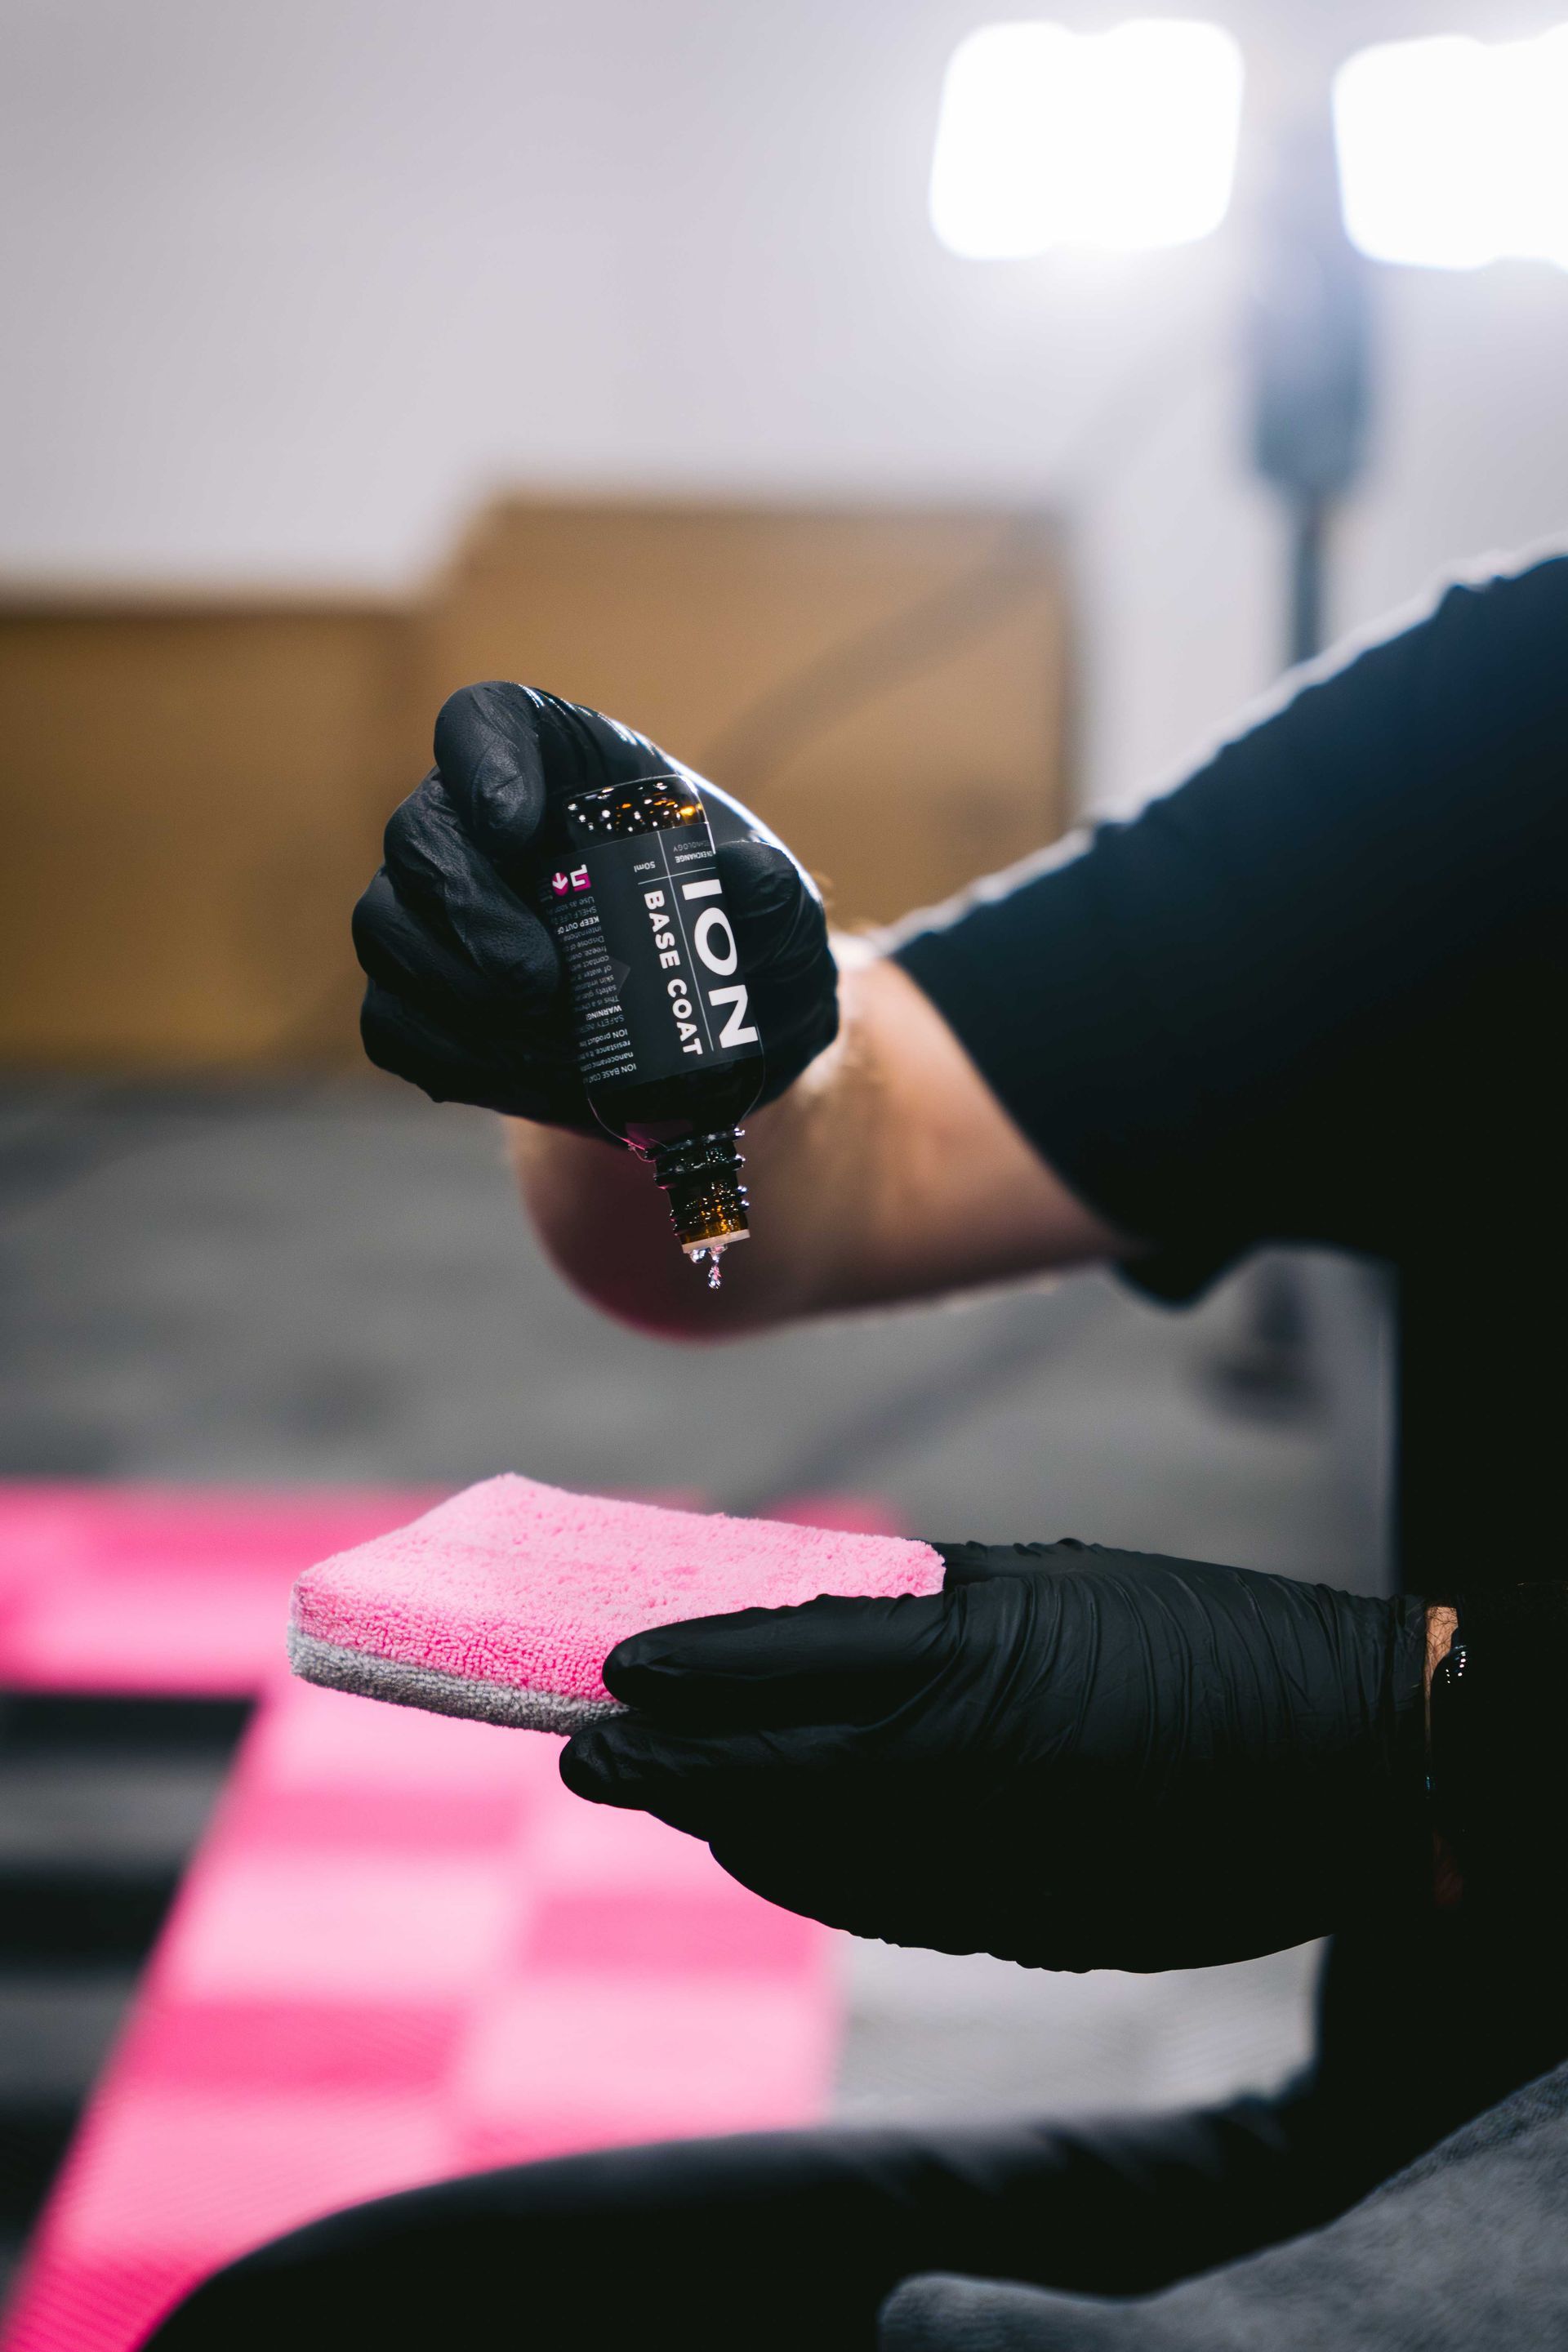
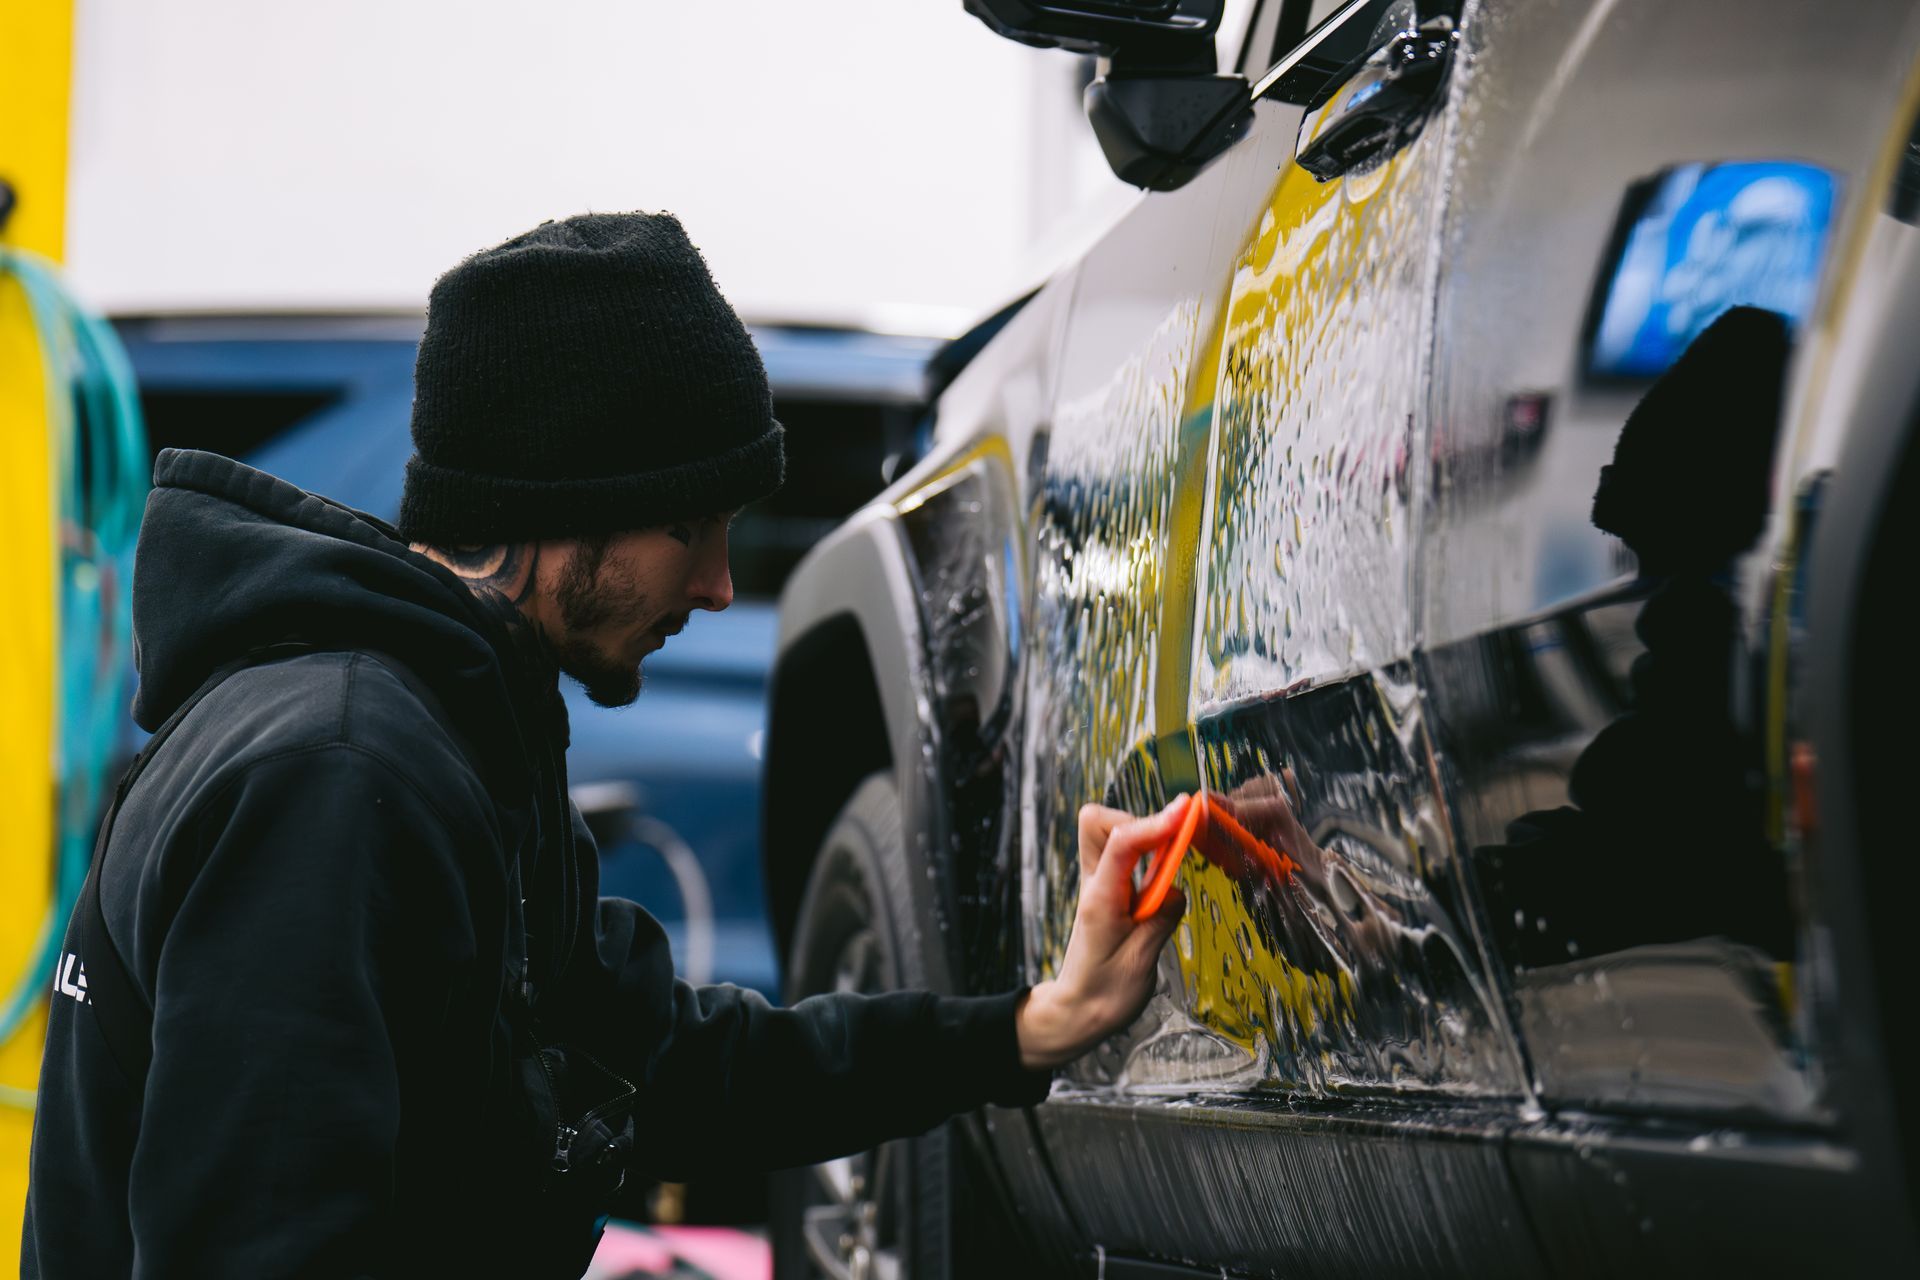
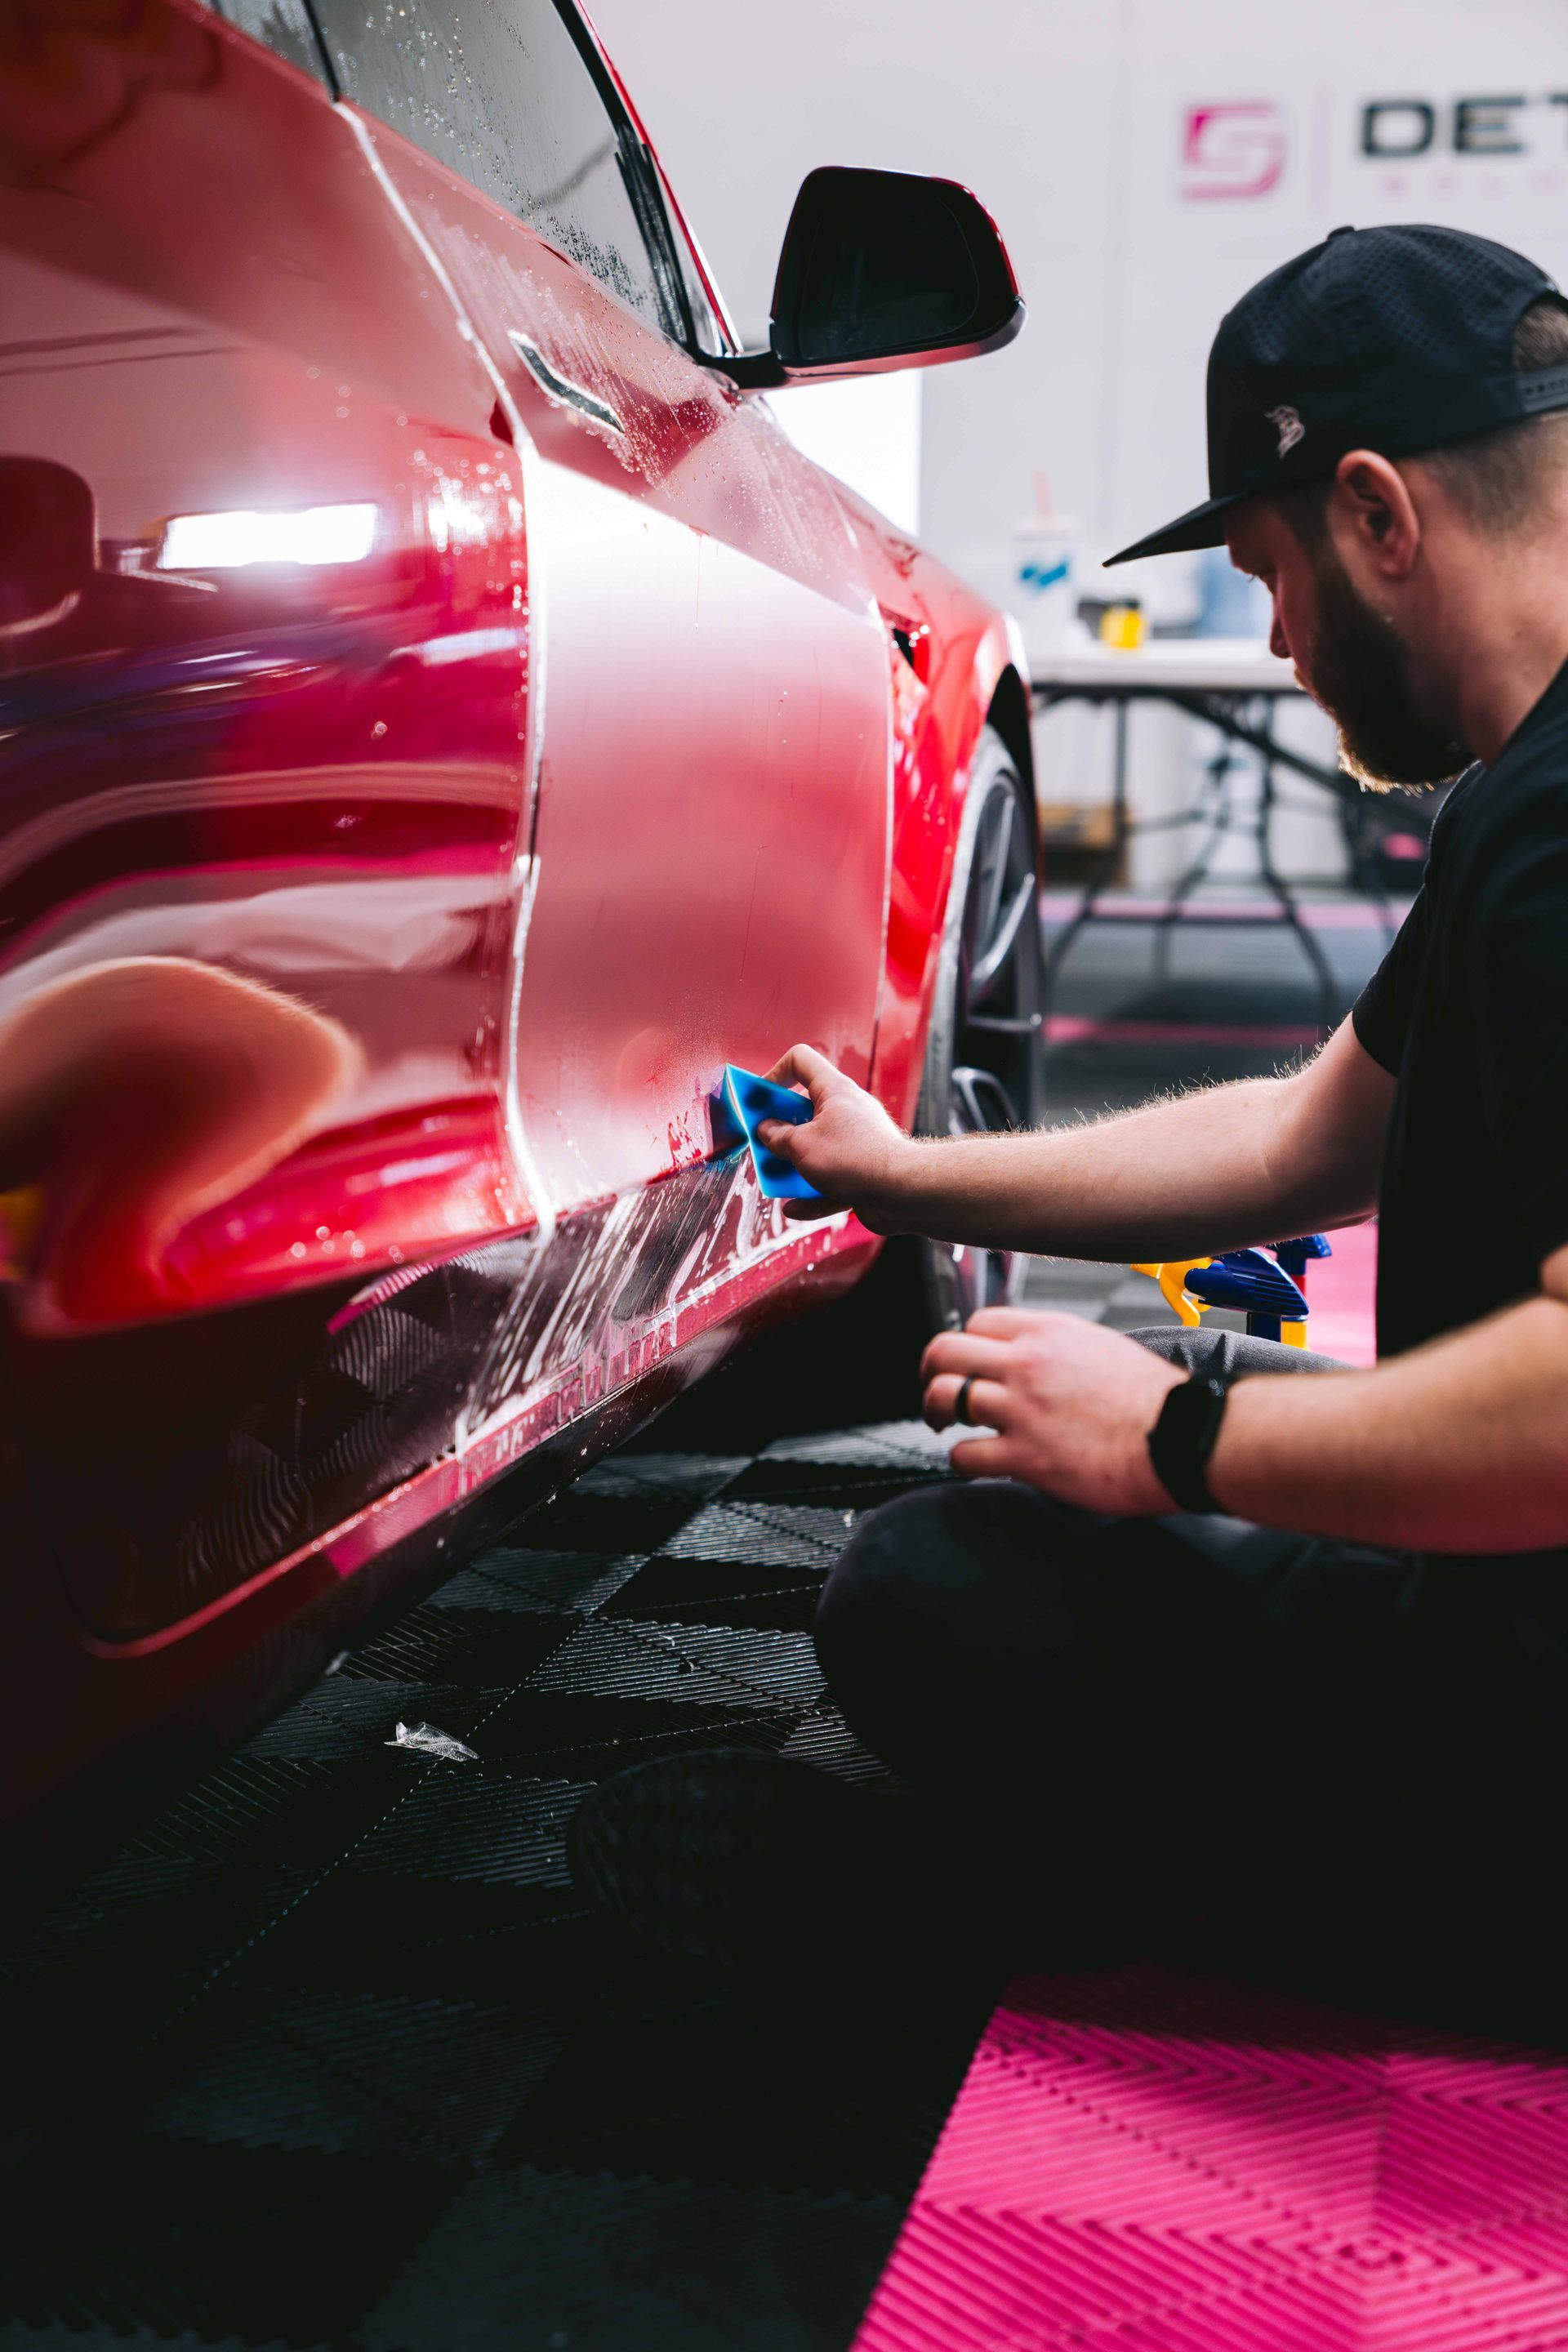
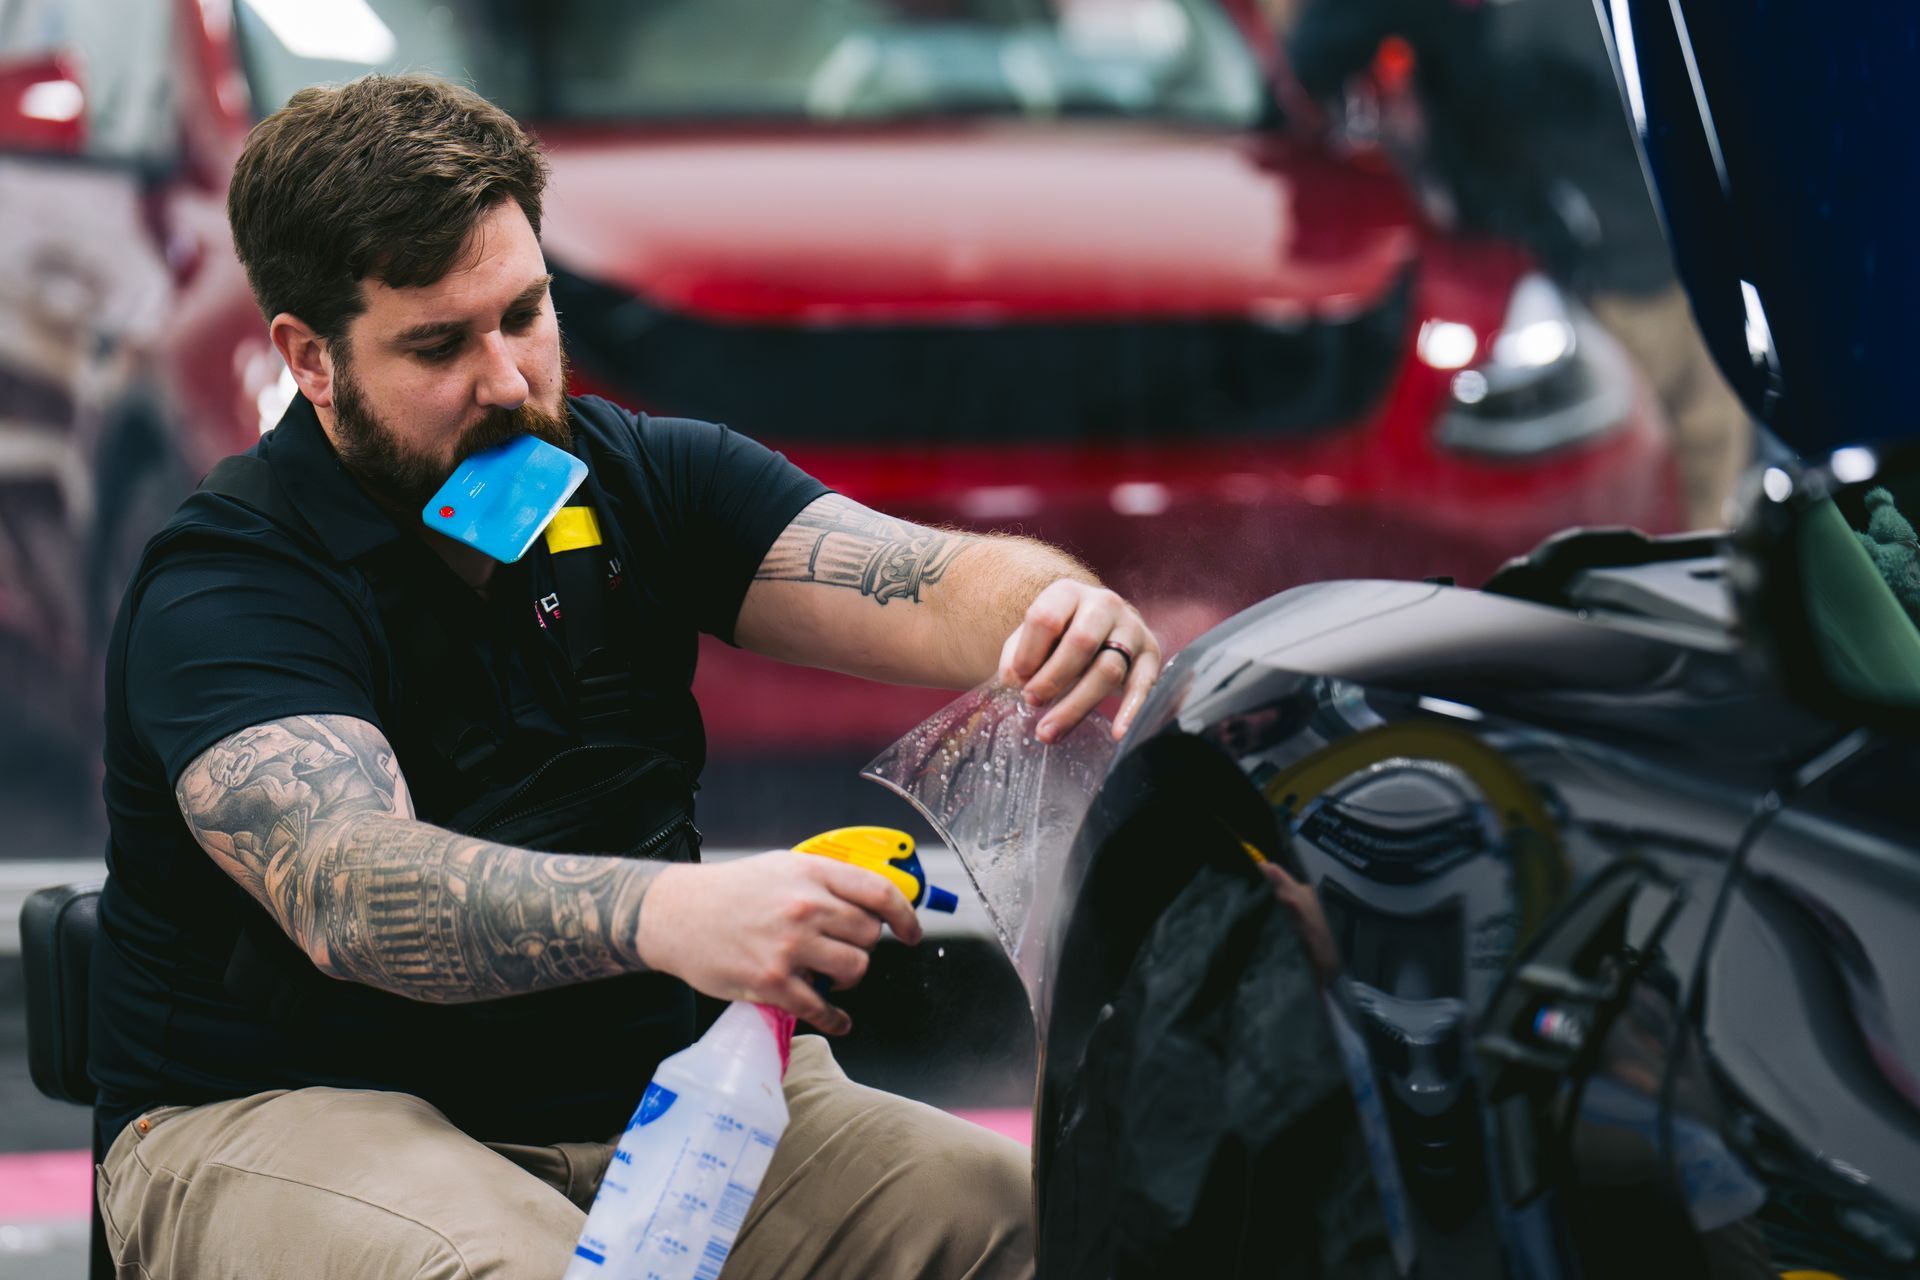
During installation, a positioning solution may be applied to the panel and adhesive side of the film. This allows the installer to align the material before the adhesive sets. Once aligned, the film is worked from the center outward with controlled squeegee pressure to remove solution and reduce trapped air.
How Professionals Finish PPF Edges
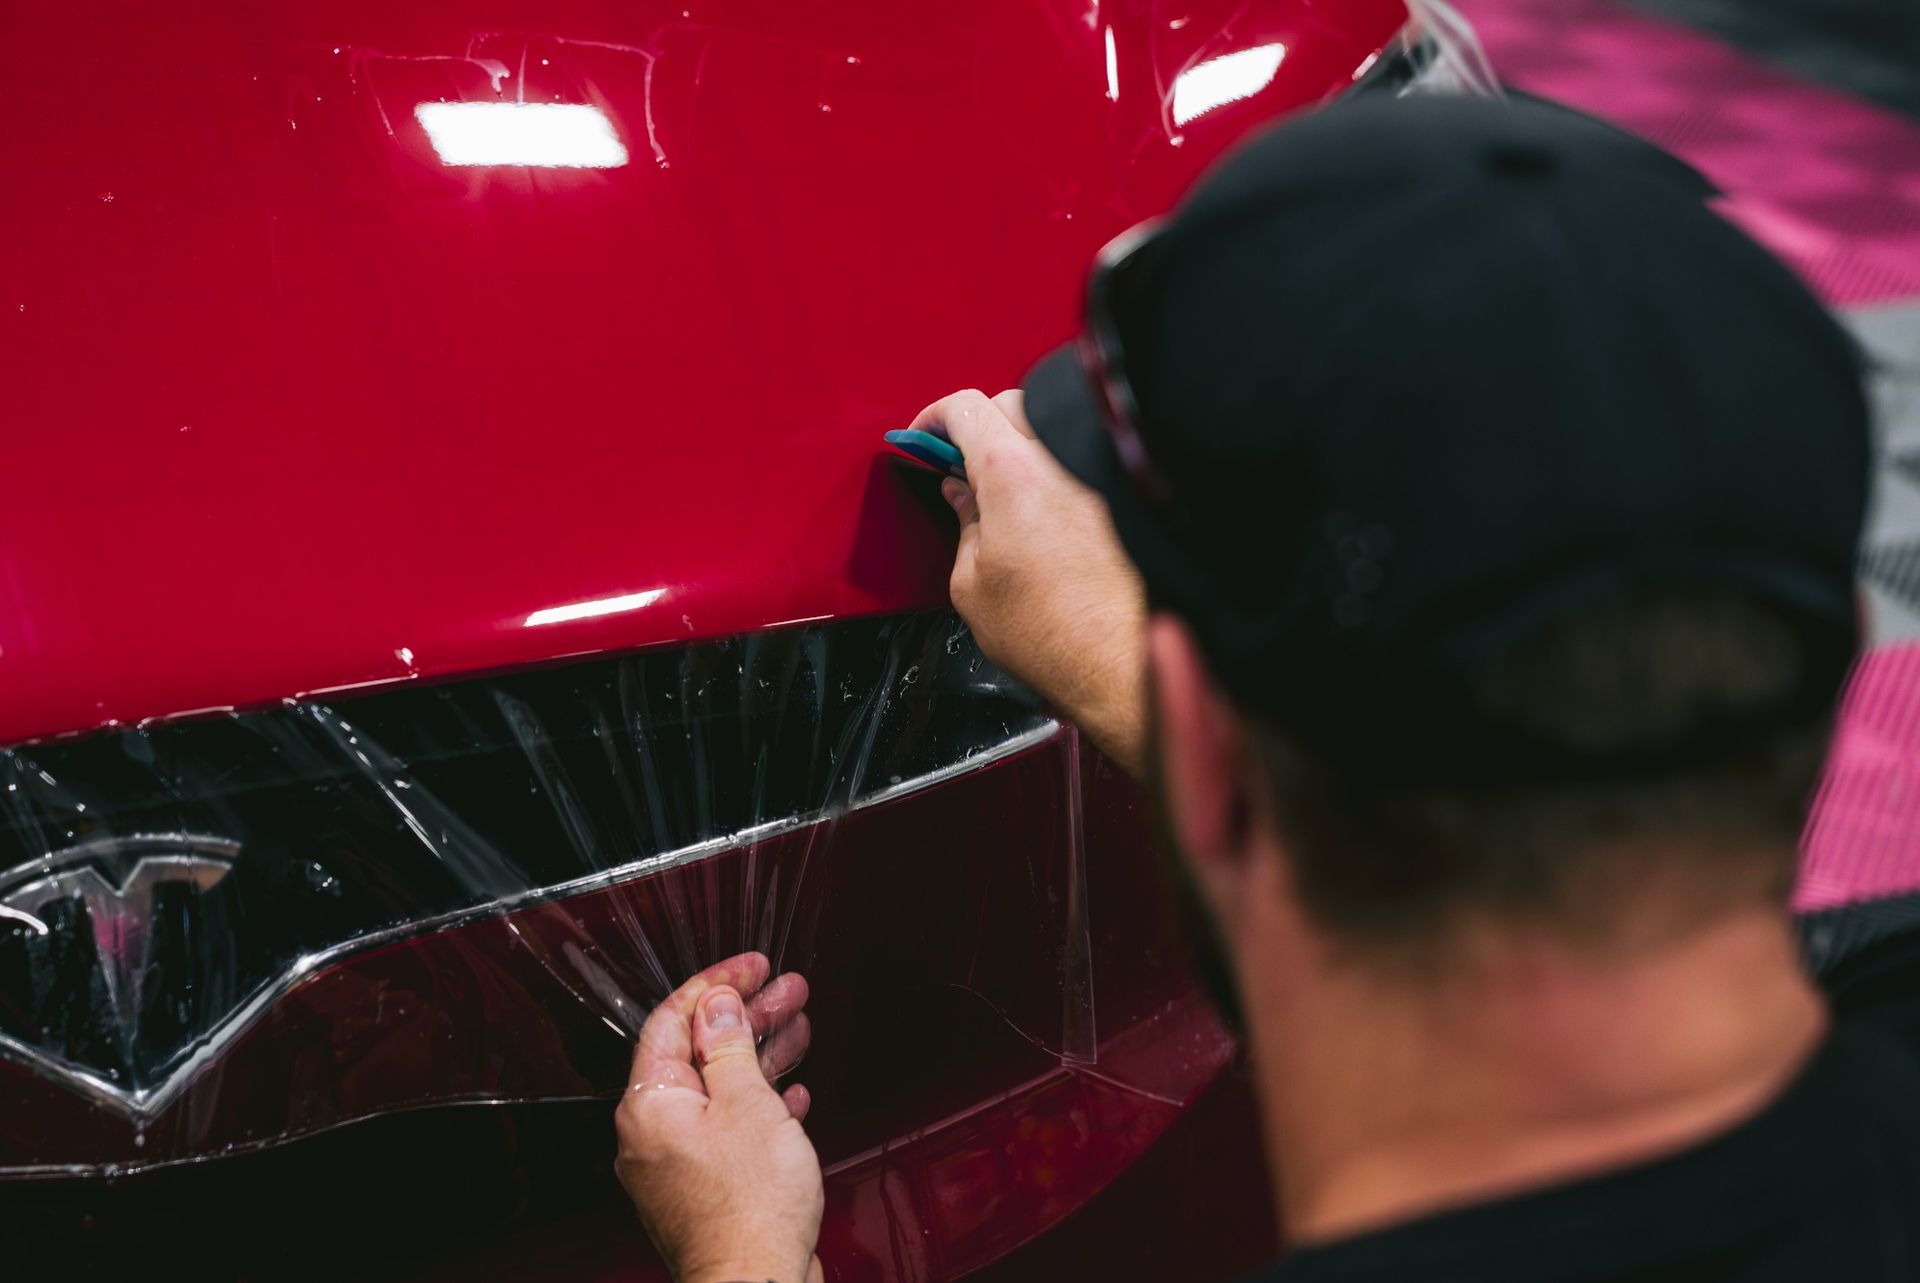
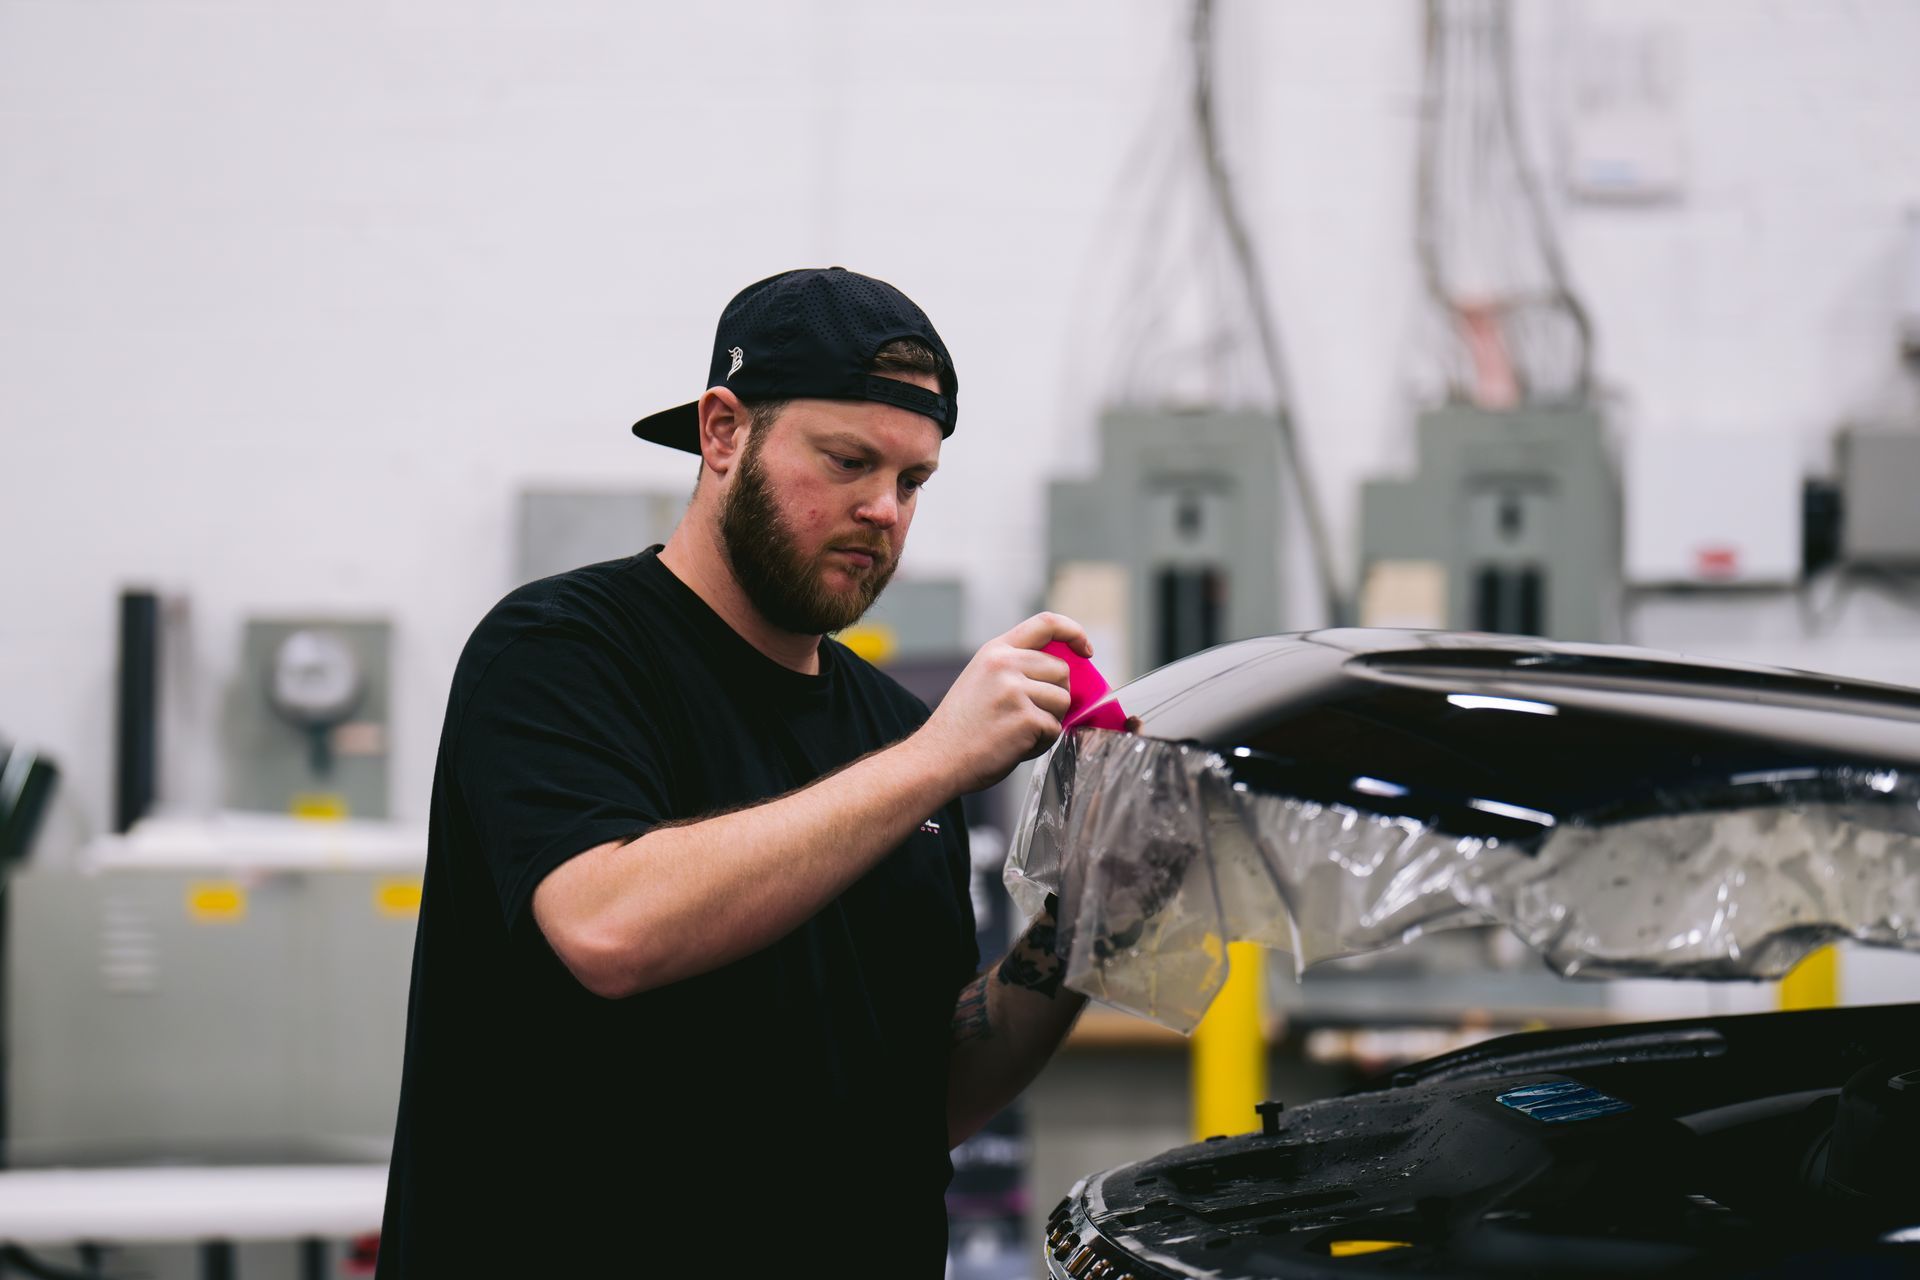
Where panel access and vehicle design allow, the installer may wrap the film around an edge and secure it on a protected surface behind the panel. This can make the termination point less visible and reduce direct exposure to washing, debris, and environmental conditions.
Successful edge wrapping requires a clean surface, enough film to wrap without excessive stretching, balanced tension, and full adhesive contact. The installer must also confirm that the film does not interfere with trim, seals, sensors, or moving parts.
Some areas require a carefully placed visible edge instead of a full wrap. In these cases, precise alignment and consistent spacing are more important than forcing the film into a location where it may not remain secure.
Controlled Heat and Final Inspection
Heat can help certain PPF products conform around curves, corners, and recessed areas. It may also be used during final edge finishing when recommended by the manufacturer.
Too much heat can distort the film, create excess tension, or affect the final texture. Too little may leave the material unable to follow a complex contour. Experienced installers monitor the film and adjust their technique based on the panel and product.
After installation, the vehicle should receive a detailed inspection. The installer checks edges, corners, high-tension areas, and visible surfaces for contamination, wrinkles, trapped solution, or lifting. Customers should also receive aftercare instructions, including how long to wait before washing the vehicle.
Precision Trimming Without Paint Damage
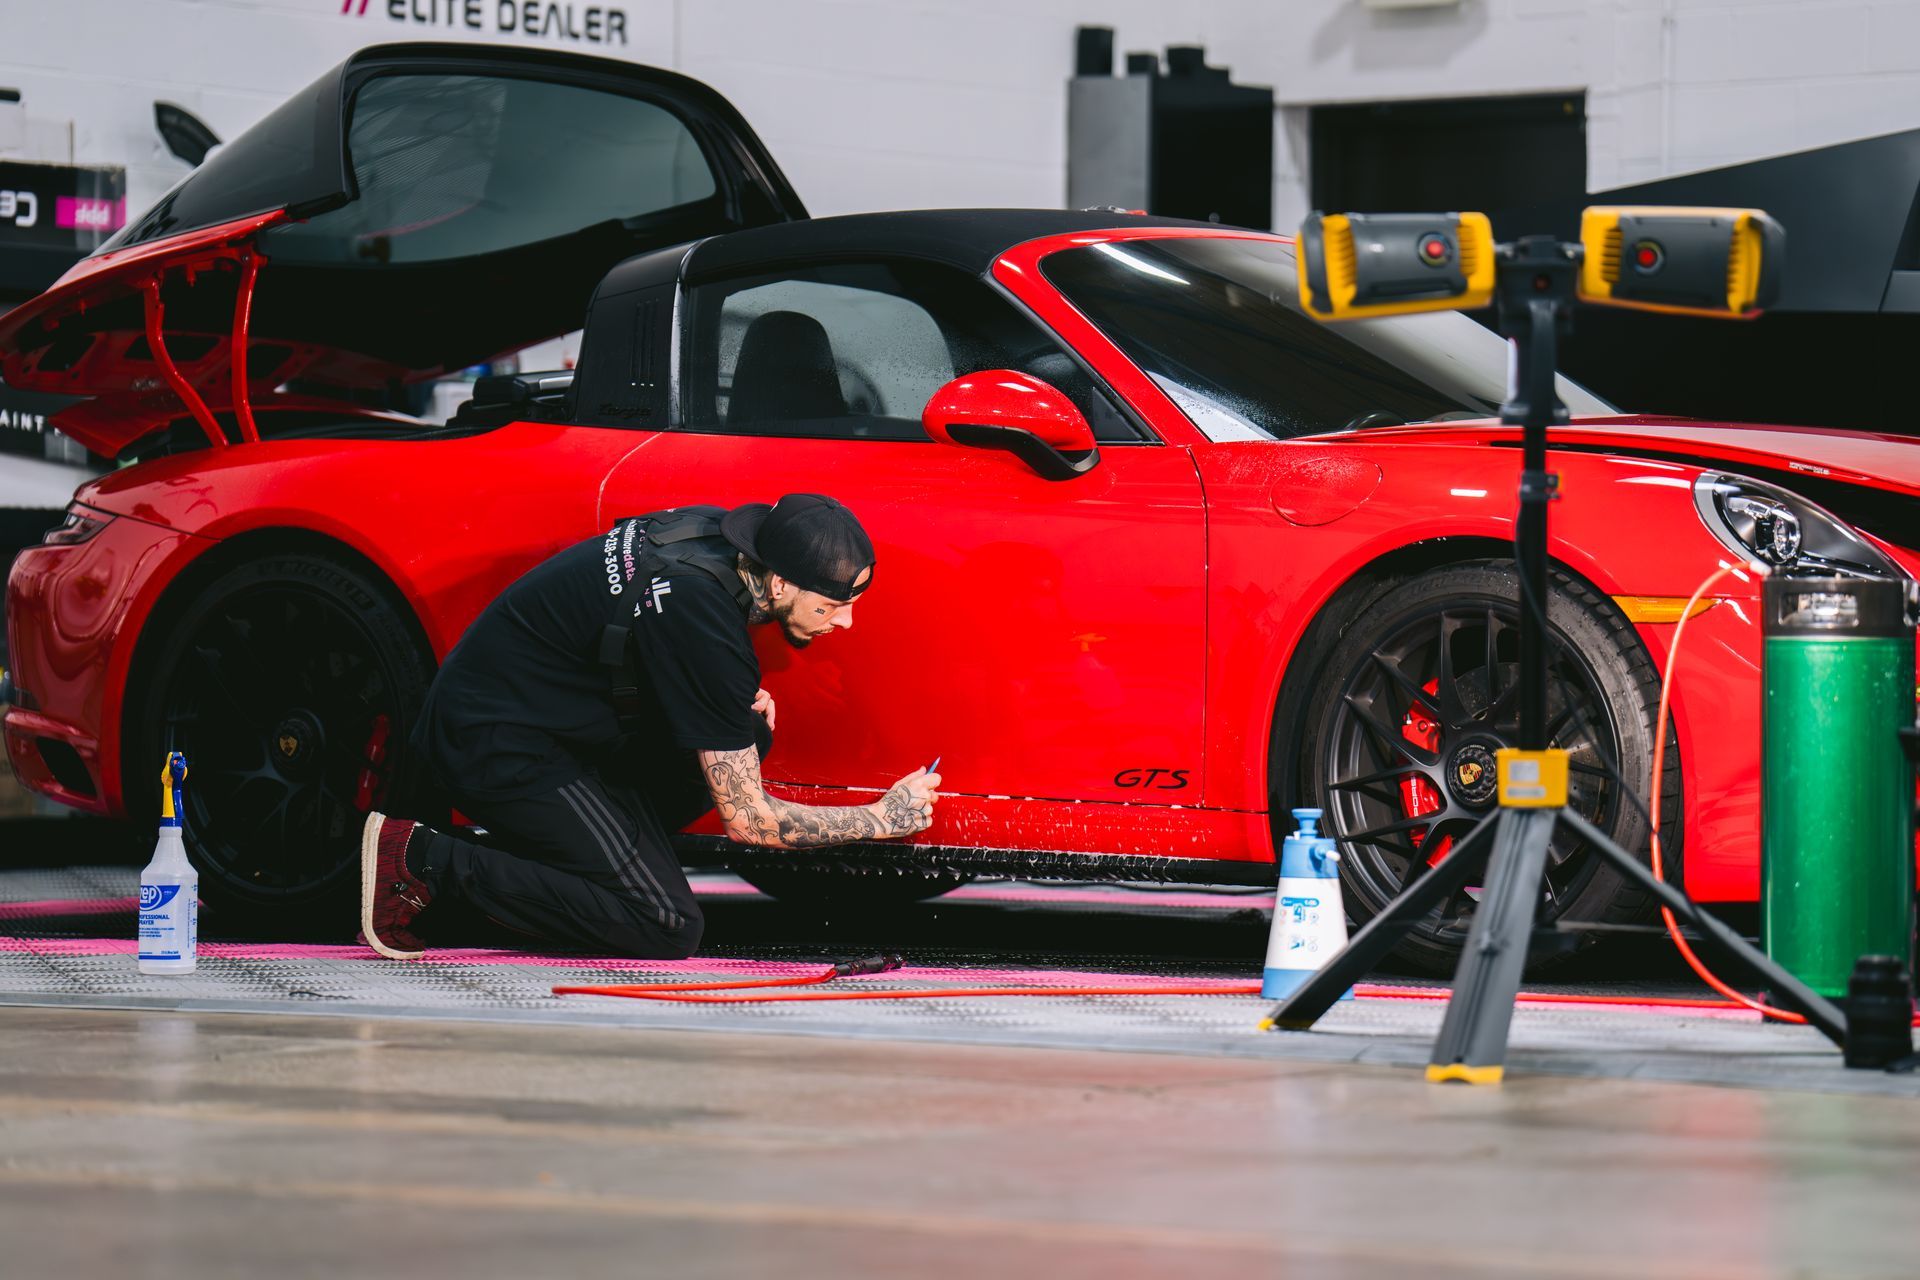
When trimming is necessary, the objective is to create a clean line while protecting the paint beneath the film. Professional installers may use plotter-cut patterns, guarded techniques, knifeless methods, or controlled hand trimming, depending on the panel.
Hand trimming should only be completed by a trained technician using light, controlled pressure. A careless cut can damage the clear coat and defeat the purpose of adding paint protection film.
For color-change PPF, precise trimming is especially important because inconsistent gaps or exposed paint can be more noticeable than they are with clear film.
Common PPF Edge Problems
Edge Lifting
Lifting may result from contamination, poor preparation, excessive stretching, impact, or improper washing. Early evaluation can help prevent the area from collecting more dirt or moisture.
Visible or Uneven Lines
A visible edge is not always a defect because some panels cannot be wrapped. However, the line should be clean, consistent, and intentionally positioned.
Bubbles Near the Edge
Some moisture may remain visible during the initial curing period. Persistent bubbles, expanding pockets, or worsening edge problems should be inspected by the installer.
Distorted Texture
Overstretched film may develop an uneven or dimpled appearance. Proper pattern selection, controlled heat, and balanced tension help reduce this risk.
How to Evaluate a Finished PPF Installation
Review the vehicle under good lighting and from several angles. Check the leading edge of the hood, bumper corners, mirror caps, fender edges, rocker panels, and other high-stress areas.
A quality installation should show:
- Smooth alignment with the vehicle’s body lines
- Clean, consistent termination points
- Properly secured corners and accessible wrapped edges
- No obvious debris beneath the film
- No severe wrinkles, overstretched areas, or careless cuts
- Clear aftercare and warranty information
Ask which edges were wrapped, which remained visible, and why. A professional installer should be able to explain these choices and set realistic expectations.
Professional PPF Installation in Baltimore
Seamless PPF edges depend on preparation, pattern selection, controlled positioning, precise trimming, and careful inspection. The process requires technical knowledge and hands-on experience, especially on vehicles with complex body lines or custom coverage needs.
Detail Solutions provides professional paint protection film services for vehicle owners throughout Baltimore, White Marsh, Essex, Perry Hall, Nottingham, Towson, Middle River, Bel Air, Hunt Valley, Owings Mills, and nearby communities. Whether you are protecting a daily driver, preserving a performance vehicle, or exploring color-change PPF, our team can help you compare coverage options and understand what to expect.
Contact Detail Solutions at
(410) 238-3000 or request a free estimate to discuss professional PPF installation for your vehicle.